Change GMenu2X Wallpaper
Changing the GMenu2X wallpaper is easy: the chosen picture must be a PNG file with a 240x240 pixel resolution.
Connect your FunKey S console to your computer and add wallpaper files as simply as you would do it with a simple USB memory stick:
| Display | Action |
|---|---|
 | Connect the FunKey S to your computer using the provided micro USB cable, then open it to turn it on |
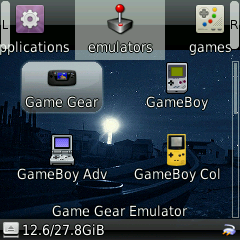 | At the launcher's main screen (example here with GMenu2X), press the key |
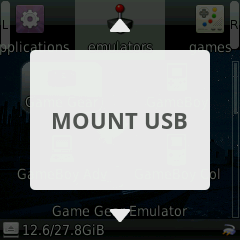 | Press the or keys until you see "MOUNT USB" |
 | Press the key twice to confirm |
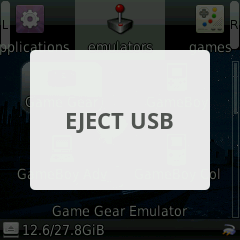 | "EJECT USB" is now displayed instead, now go to your host computer and open a File Explorer window |
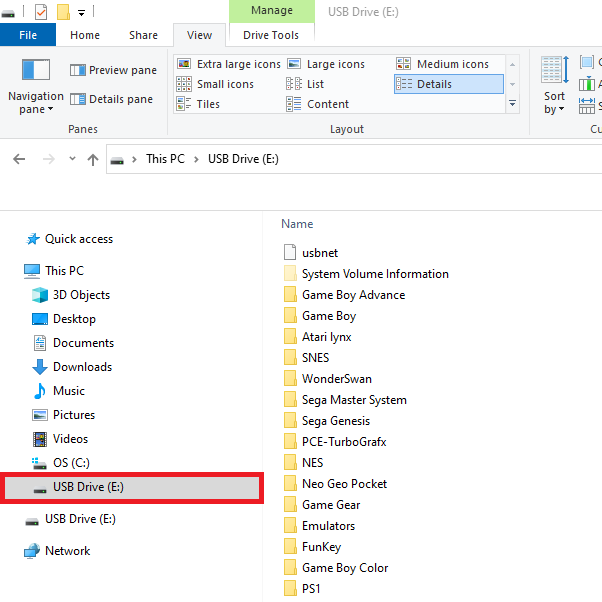 | You should see the FunKey S appear as an USB drive on your computer in the File Explorer (example here with Windows 10) |
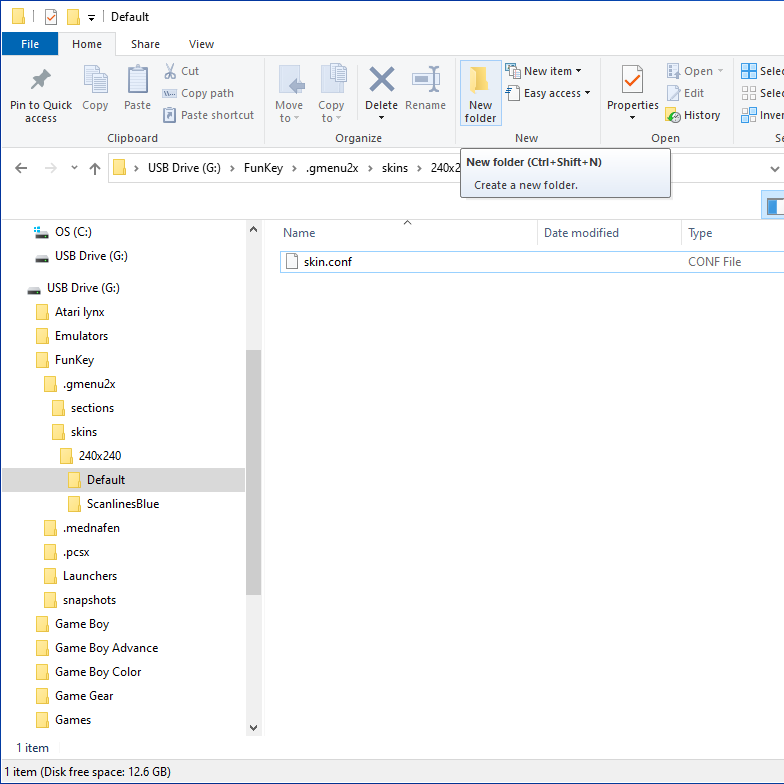 | Navigate to the FunKey/.gmenu2x/skins/240x240/Default/wallpapers folder in this USB drive |
| If they do not exist already, create the required folders hierarchically |
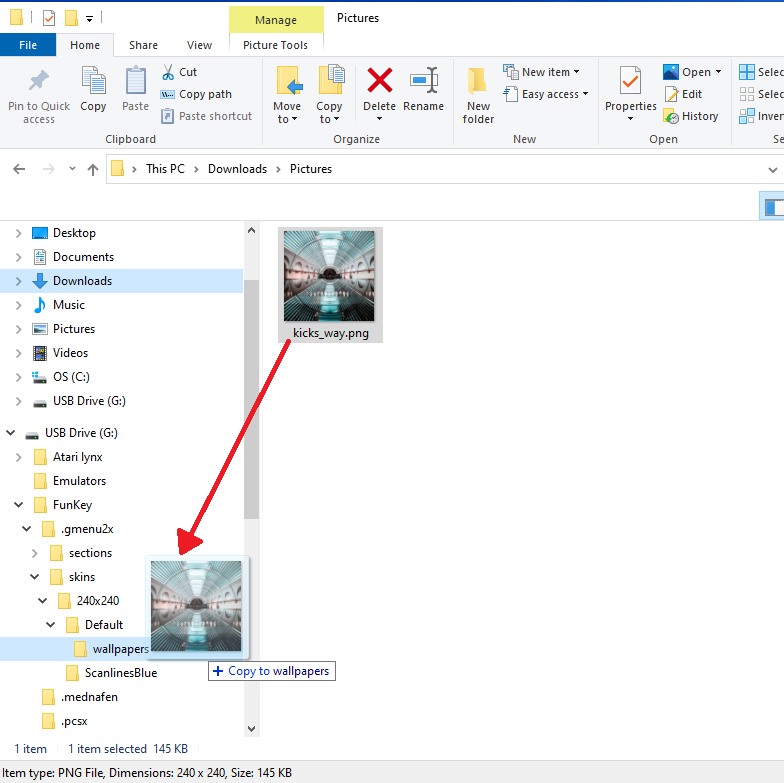 | Drag & drop the wallpapers file into this folder |
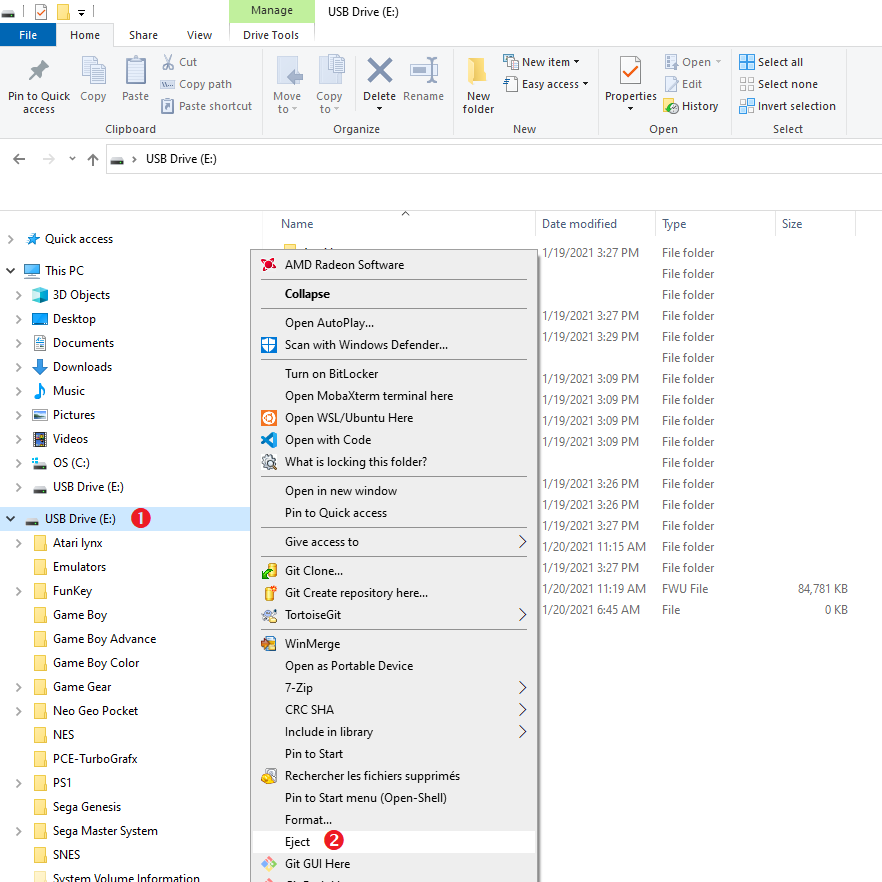 | Eject cleanly the USB drive from your computer |
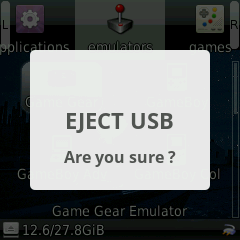 | Back on the FunKey S, at the "EJECT USB" menu entry, press the key twice to confirm |
| Press the key to return to the launcher screen |
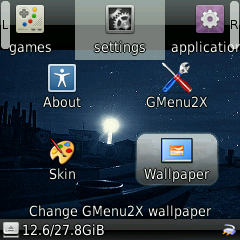 | Navigate to the Settings tab using the or keys, select the Wallpaper icon using the , , or keys, then press the key |
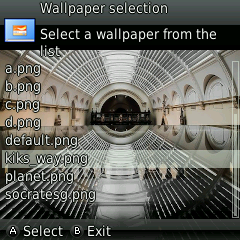 | Choose the wallpaper using the , , , , or keys, then press the key |
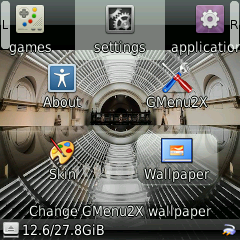 | The selected wallpaper becomes the new GMenu2X wallpaper |
Of course, you can remove wallpaper files from the FunKey S console as you would do with a USB memory stick, too!
The wallpaper is copyright © 2020 kiks_way.