Flashing a new micro-SD card
The following steps describe how to flash a micro-SD card with the latest version of FunKey OS. This must be done before switching micro-SD cards inside the console.
Note: Everything on the micro-SD card will be lost, be sure to save your data.
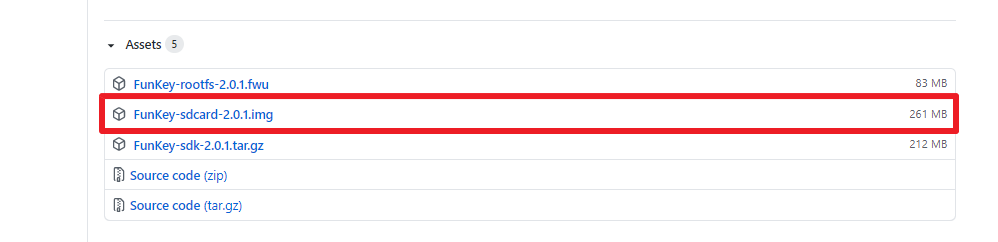
Download the latest FunKey OS image file
Get the latest "FunKey-rootfs-x.y.z.img" SD card image file directly from here or from the bottom of the latest release page in the "assets" section:
https://github.com/DrUm78/FunKey-OS/releases/latest
Flash the micro-SD card with balenaEtcher
-
Download and install balenaEtcher for Windows/Mac OS/Linux from balena.io
-
Run balenaEtcher and click on "Flash from file" to select the FunKey OS image file
-
Insert the micro-SD card in your computer and select the SD card drive (balenaEtcher should automatically detect it for you)
-
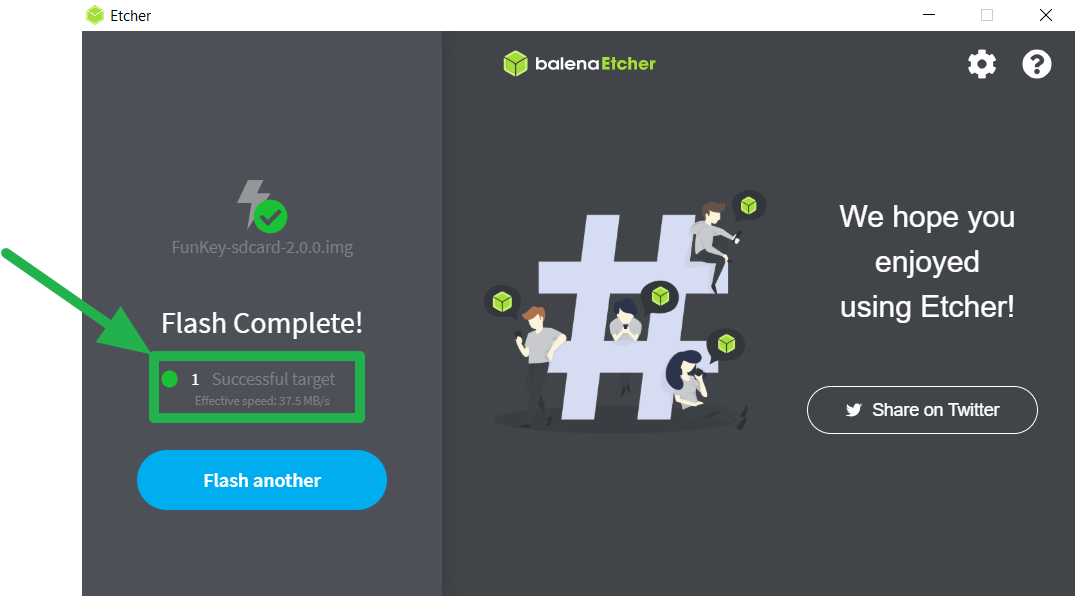
Finally, click Flash
-
You'll see a progress bar. Once complete, make sure the flashing was successful, otherwise retry to flash the SD card. The program will automatically unmount the SD card so it's safe to remove it from your computer.
Switching micro-SD cards
On the FunKey S, the micro-SD card was voluntarily placed against the casing so that it has no degree of freedom and cannot move by accident during the eventful life of a keychain.
Removing/switching the micro-SD card was nevertheless designed to be pretty straightforward and only require a standard Phillips screwdriver (PH0) and optionally some tweezers.
Please follow the steps below carefully:
STEP 1 - Removing the screws
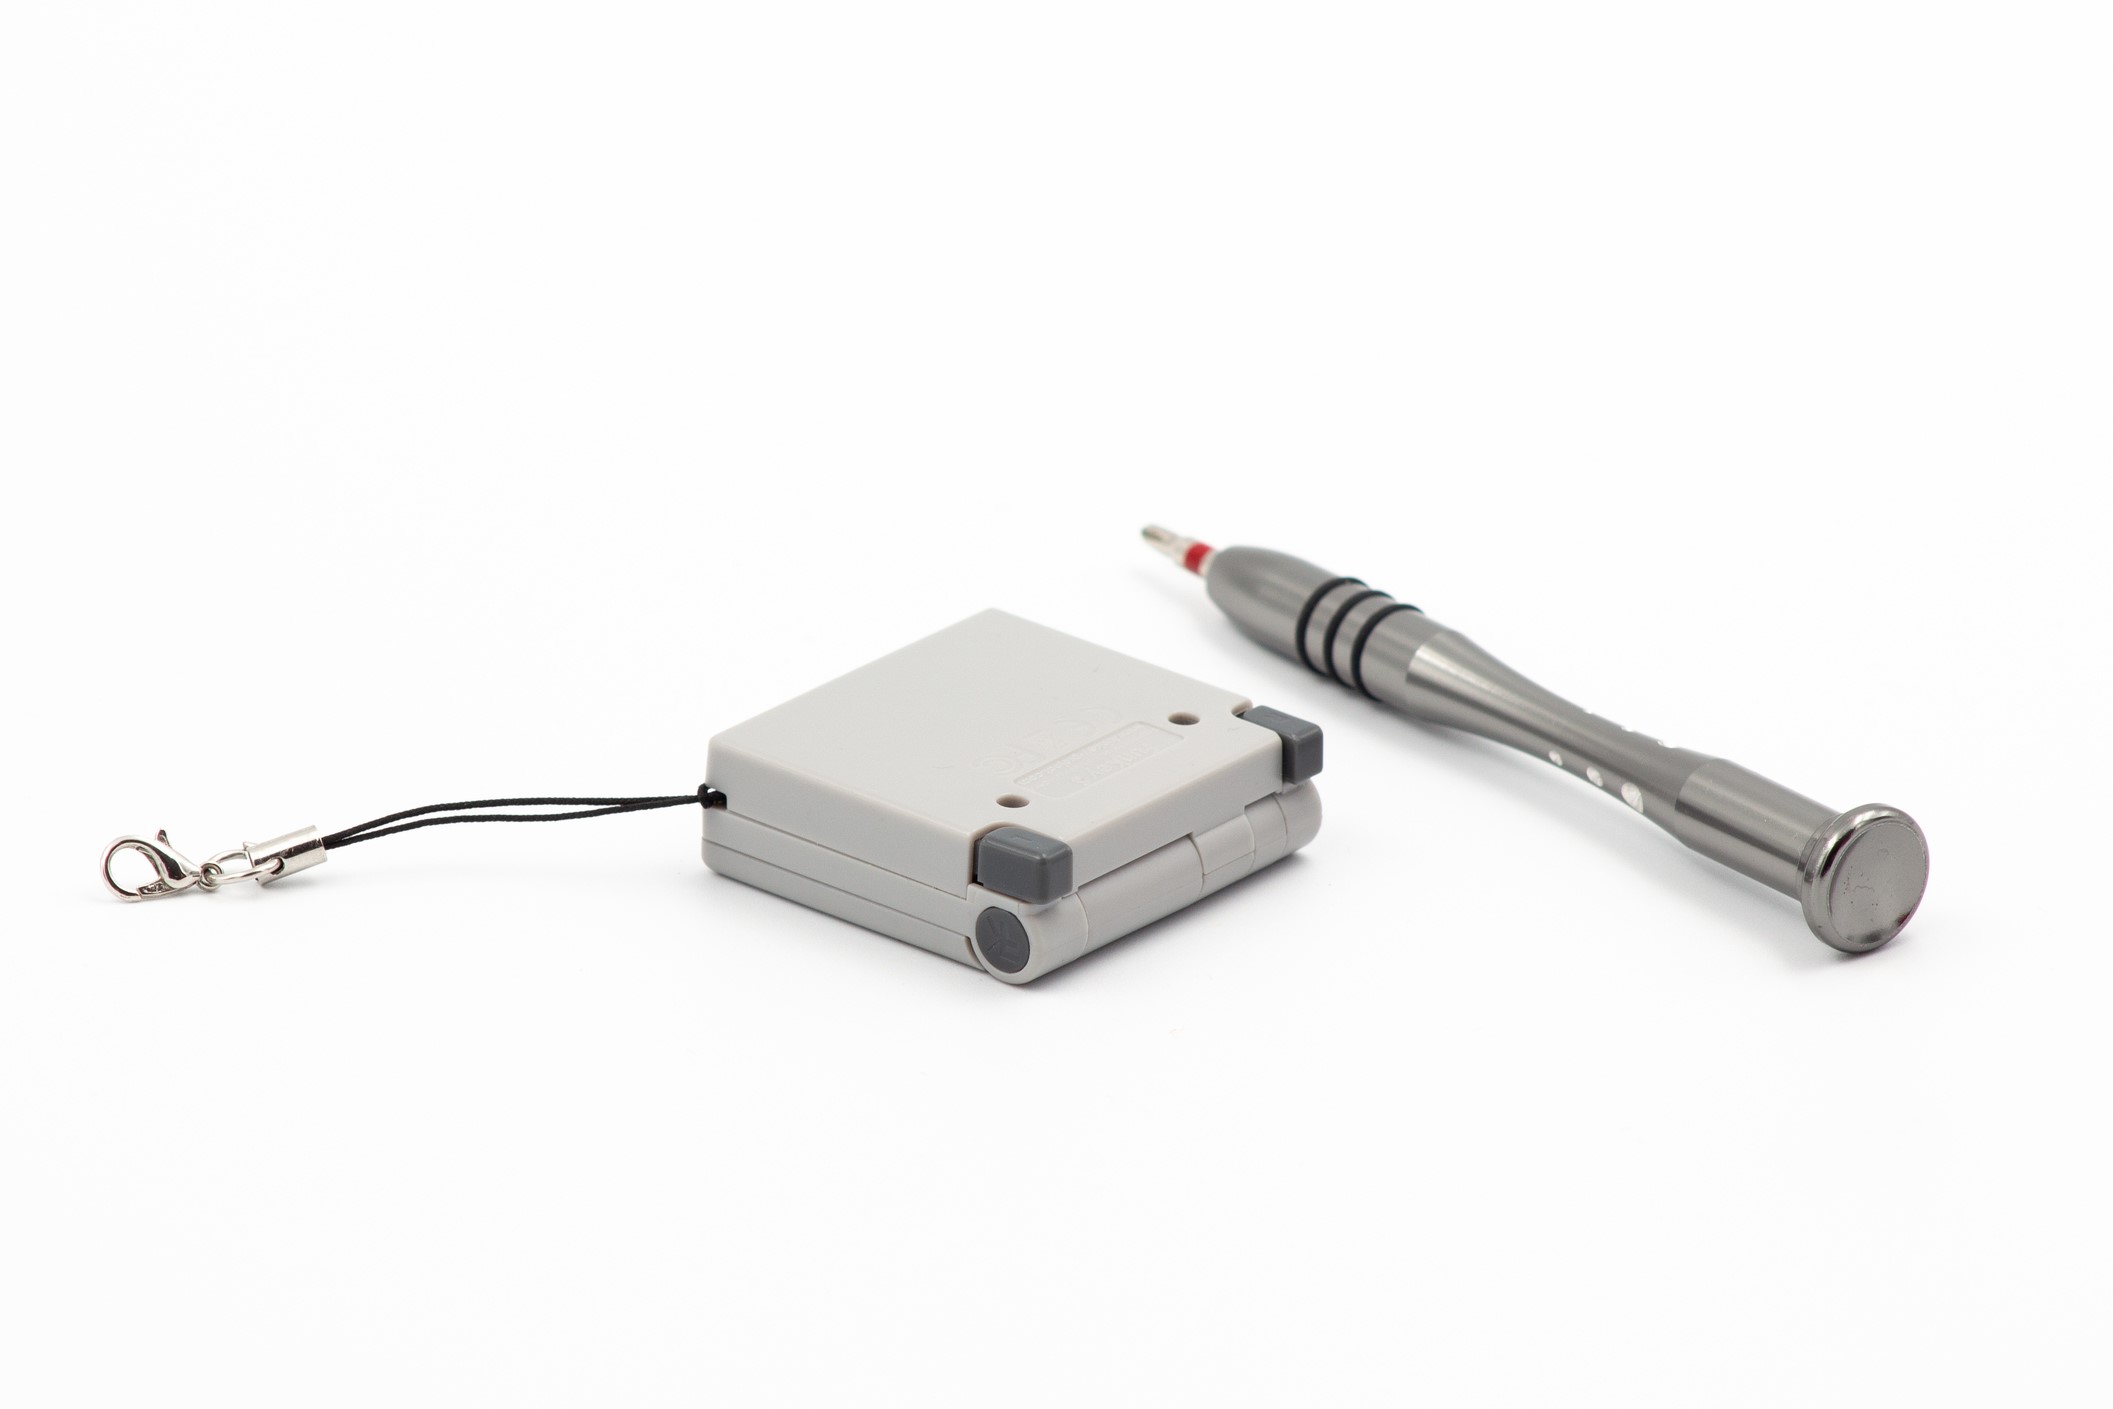
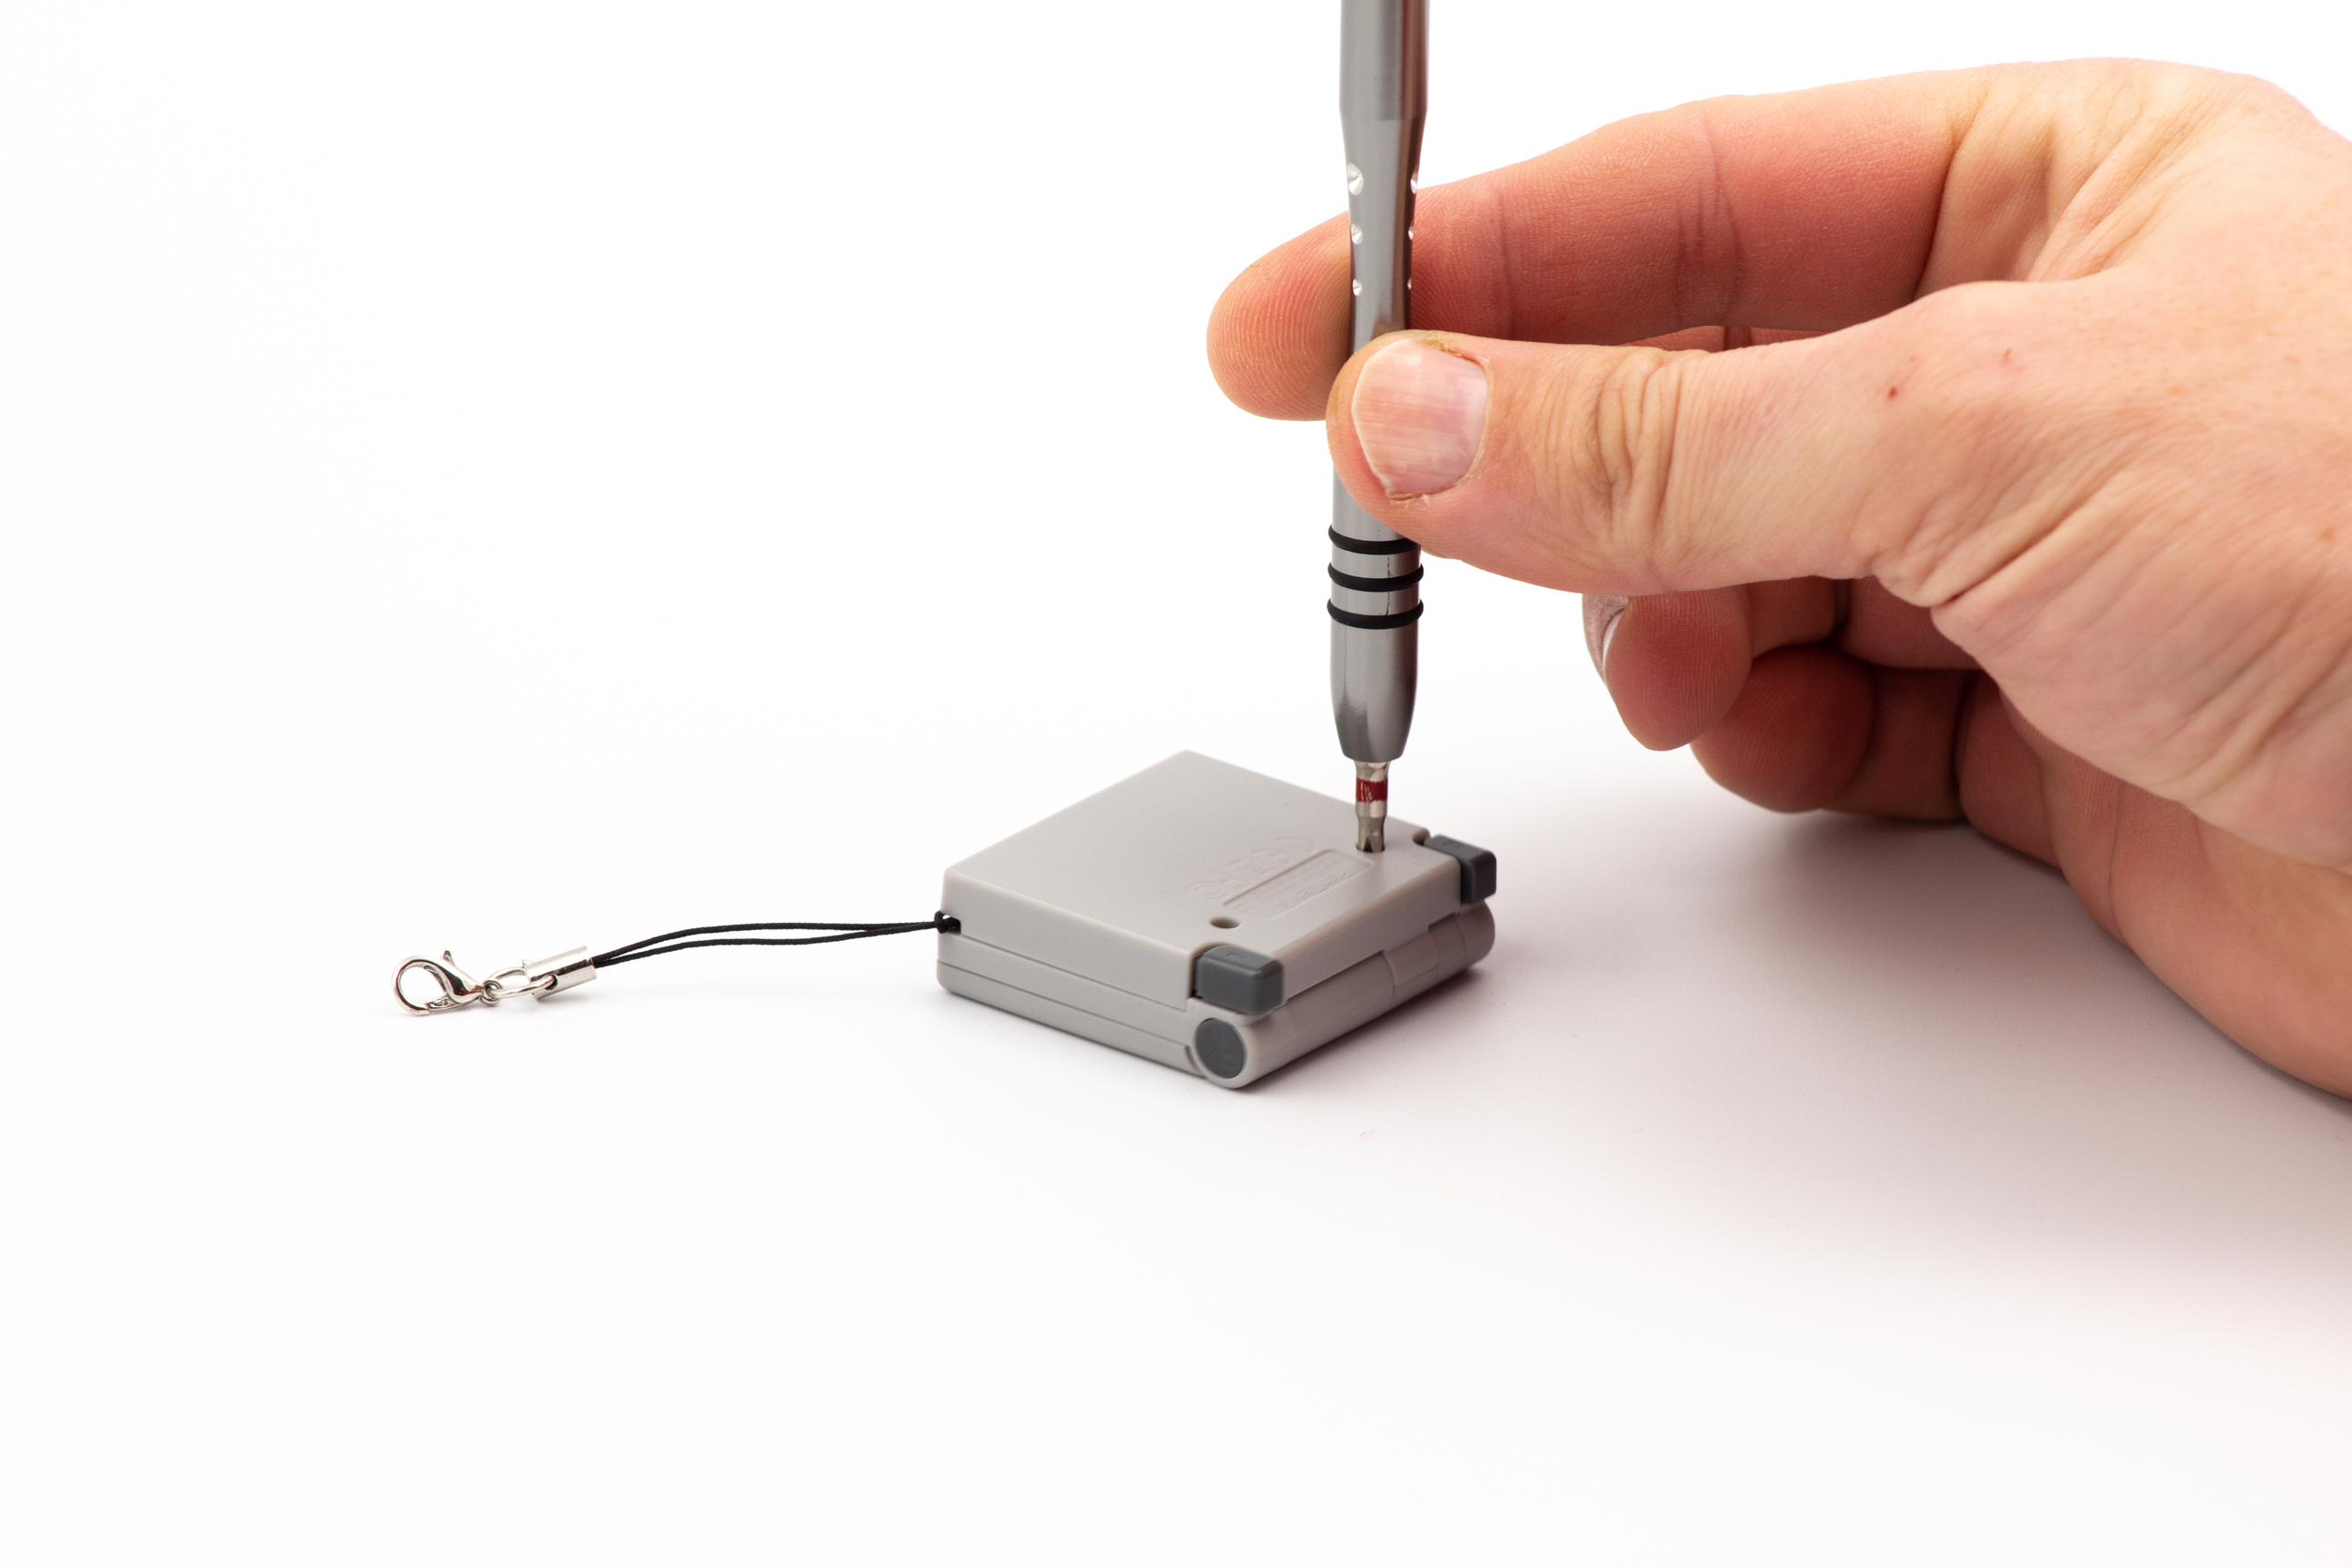
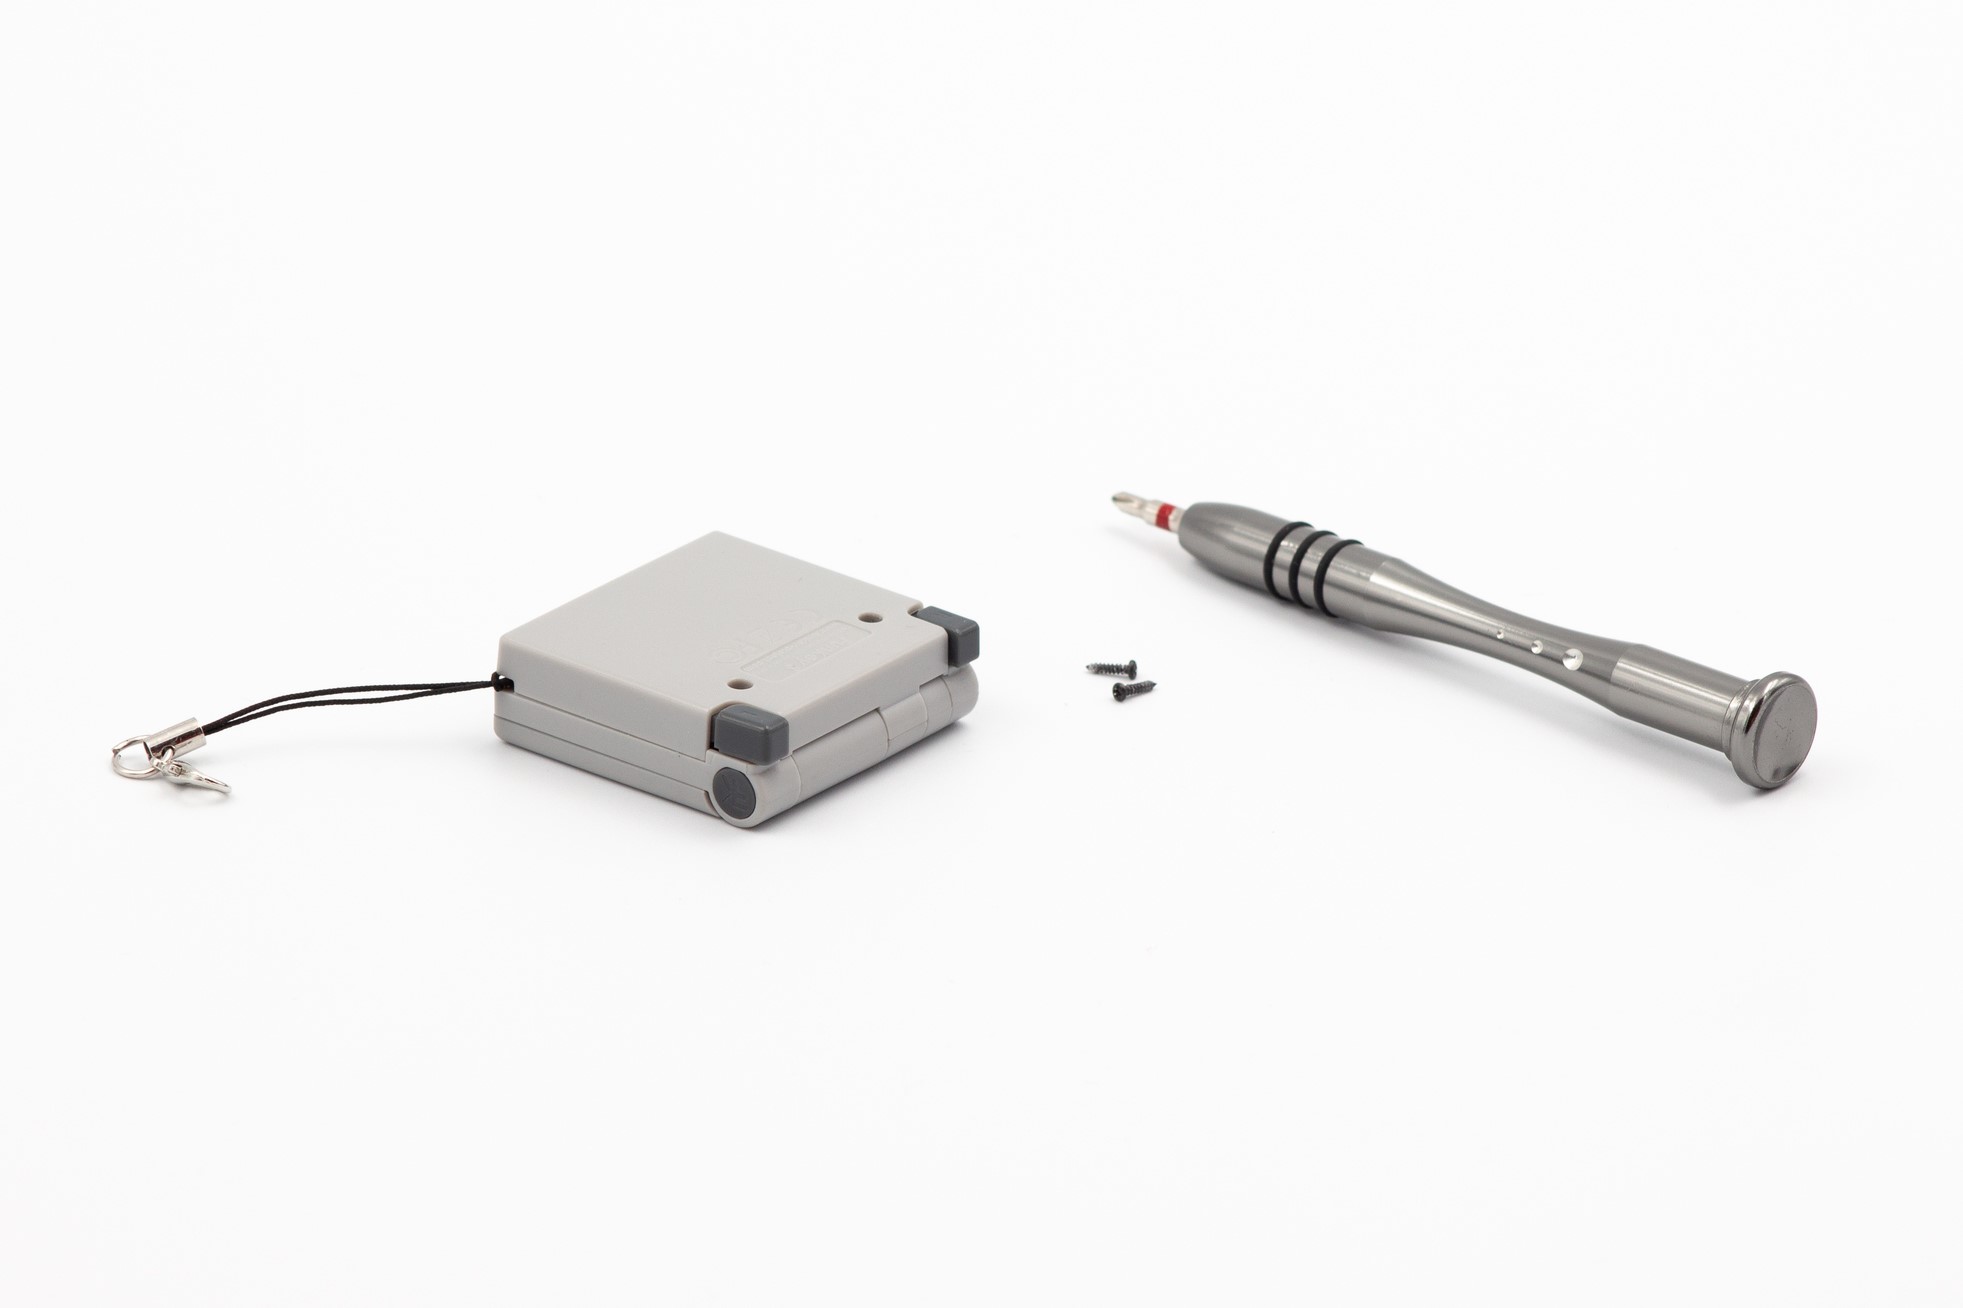
Using a standard Phillips PH0 screwdriver, remove the 2 screws on the back of your FunKey S.
Warning
Be careful to use the correct screwdriver head size and type to prevent damaging the screws (do not use JIS screwdrivers!). FunKey Project is not responsible for replacing damaged screws.
STEP 2 - Opening up the console
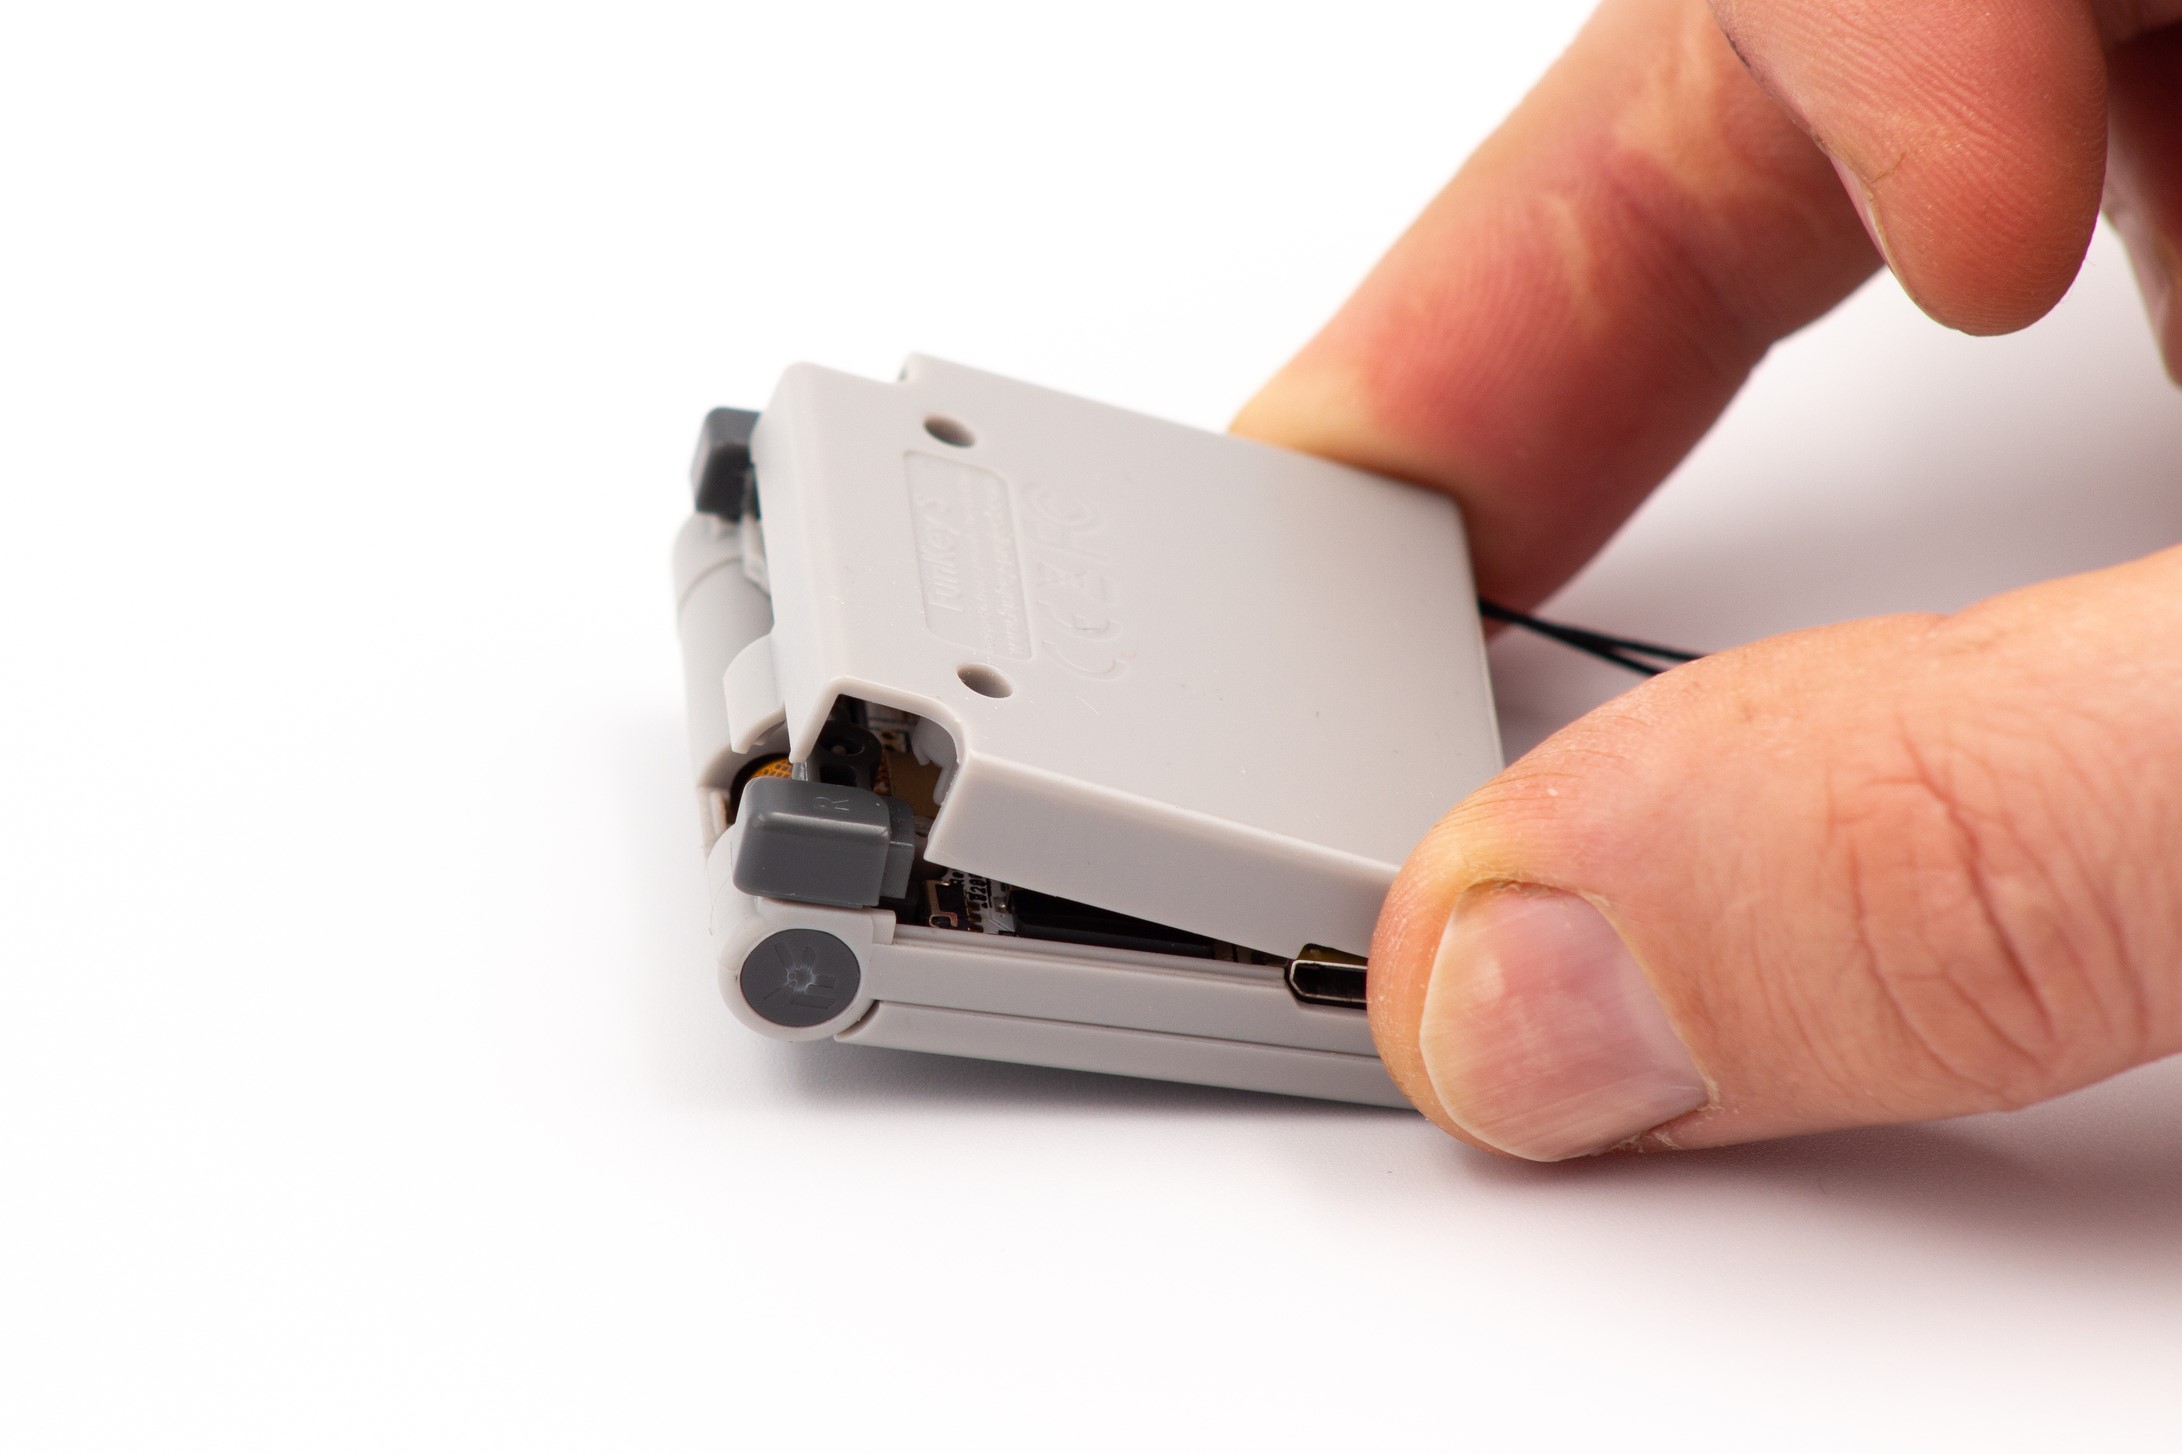
Carefully remove:
- The plastic back of the console by pulling up the hinge side first
- The L/R plastic buttons by gently pulling them up out of their axis
- The keychain lanyard and axis
Warning
Be careful not to damage the L/R switches on the circuit board!
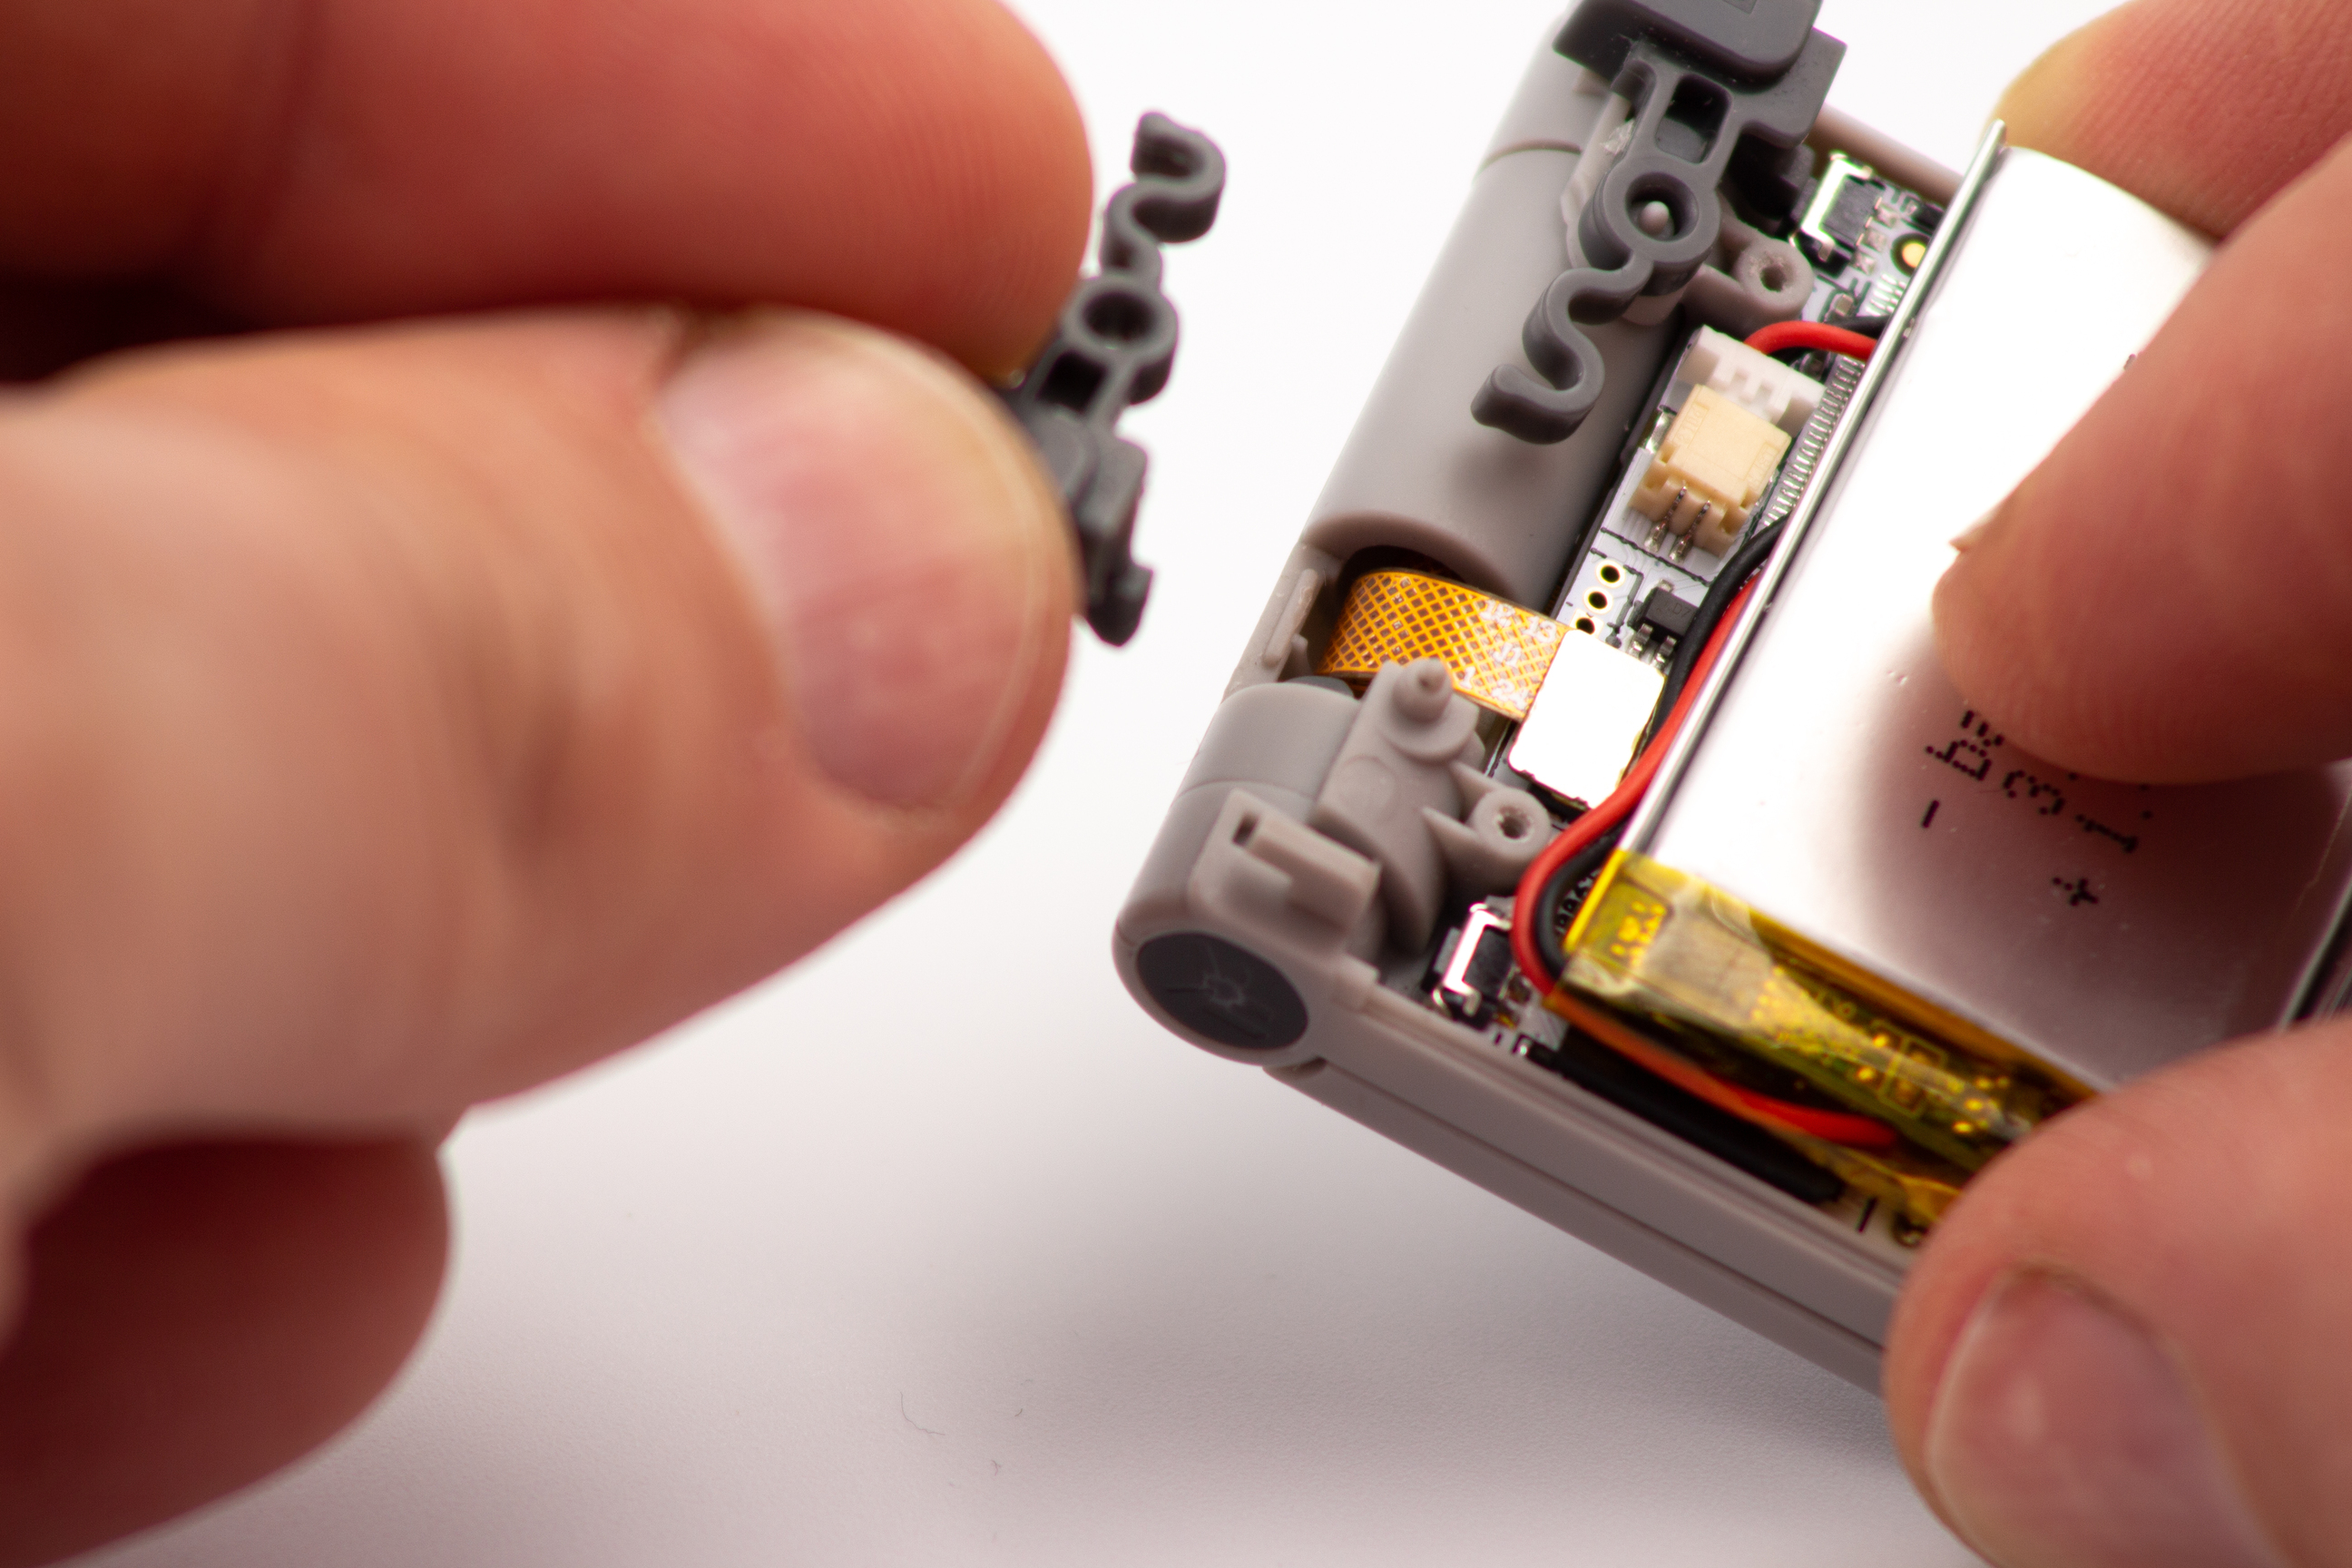
STEP 3 - Exposing the circuit board

Remove the keychain lanyard axis, as it may fall off when opening.
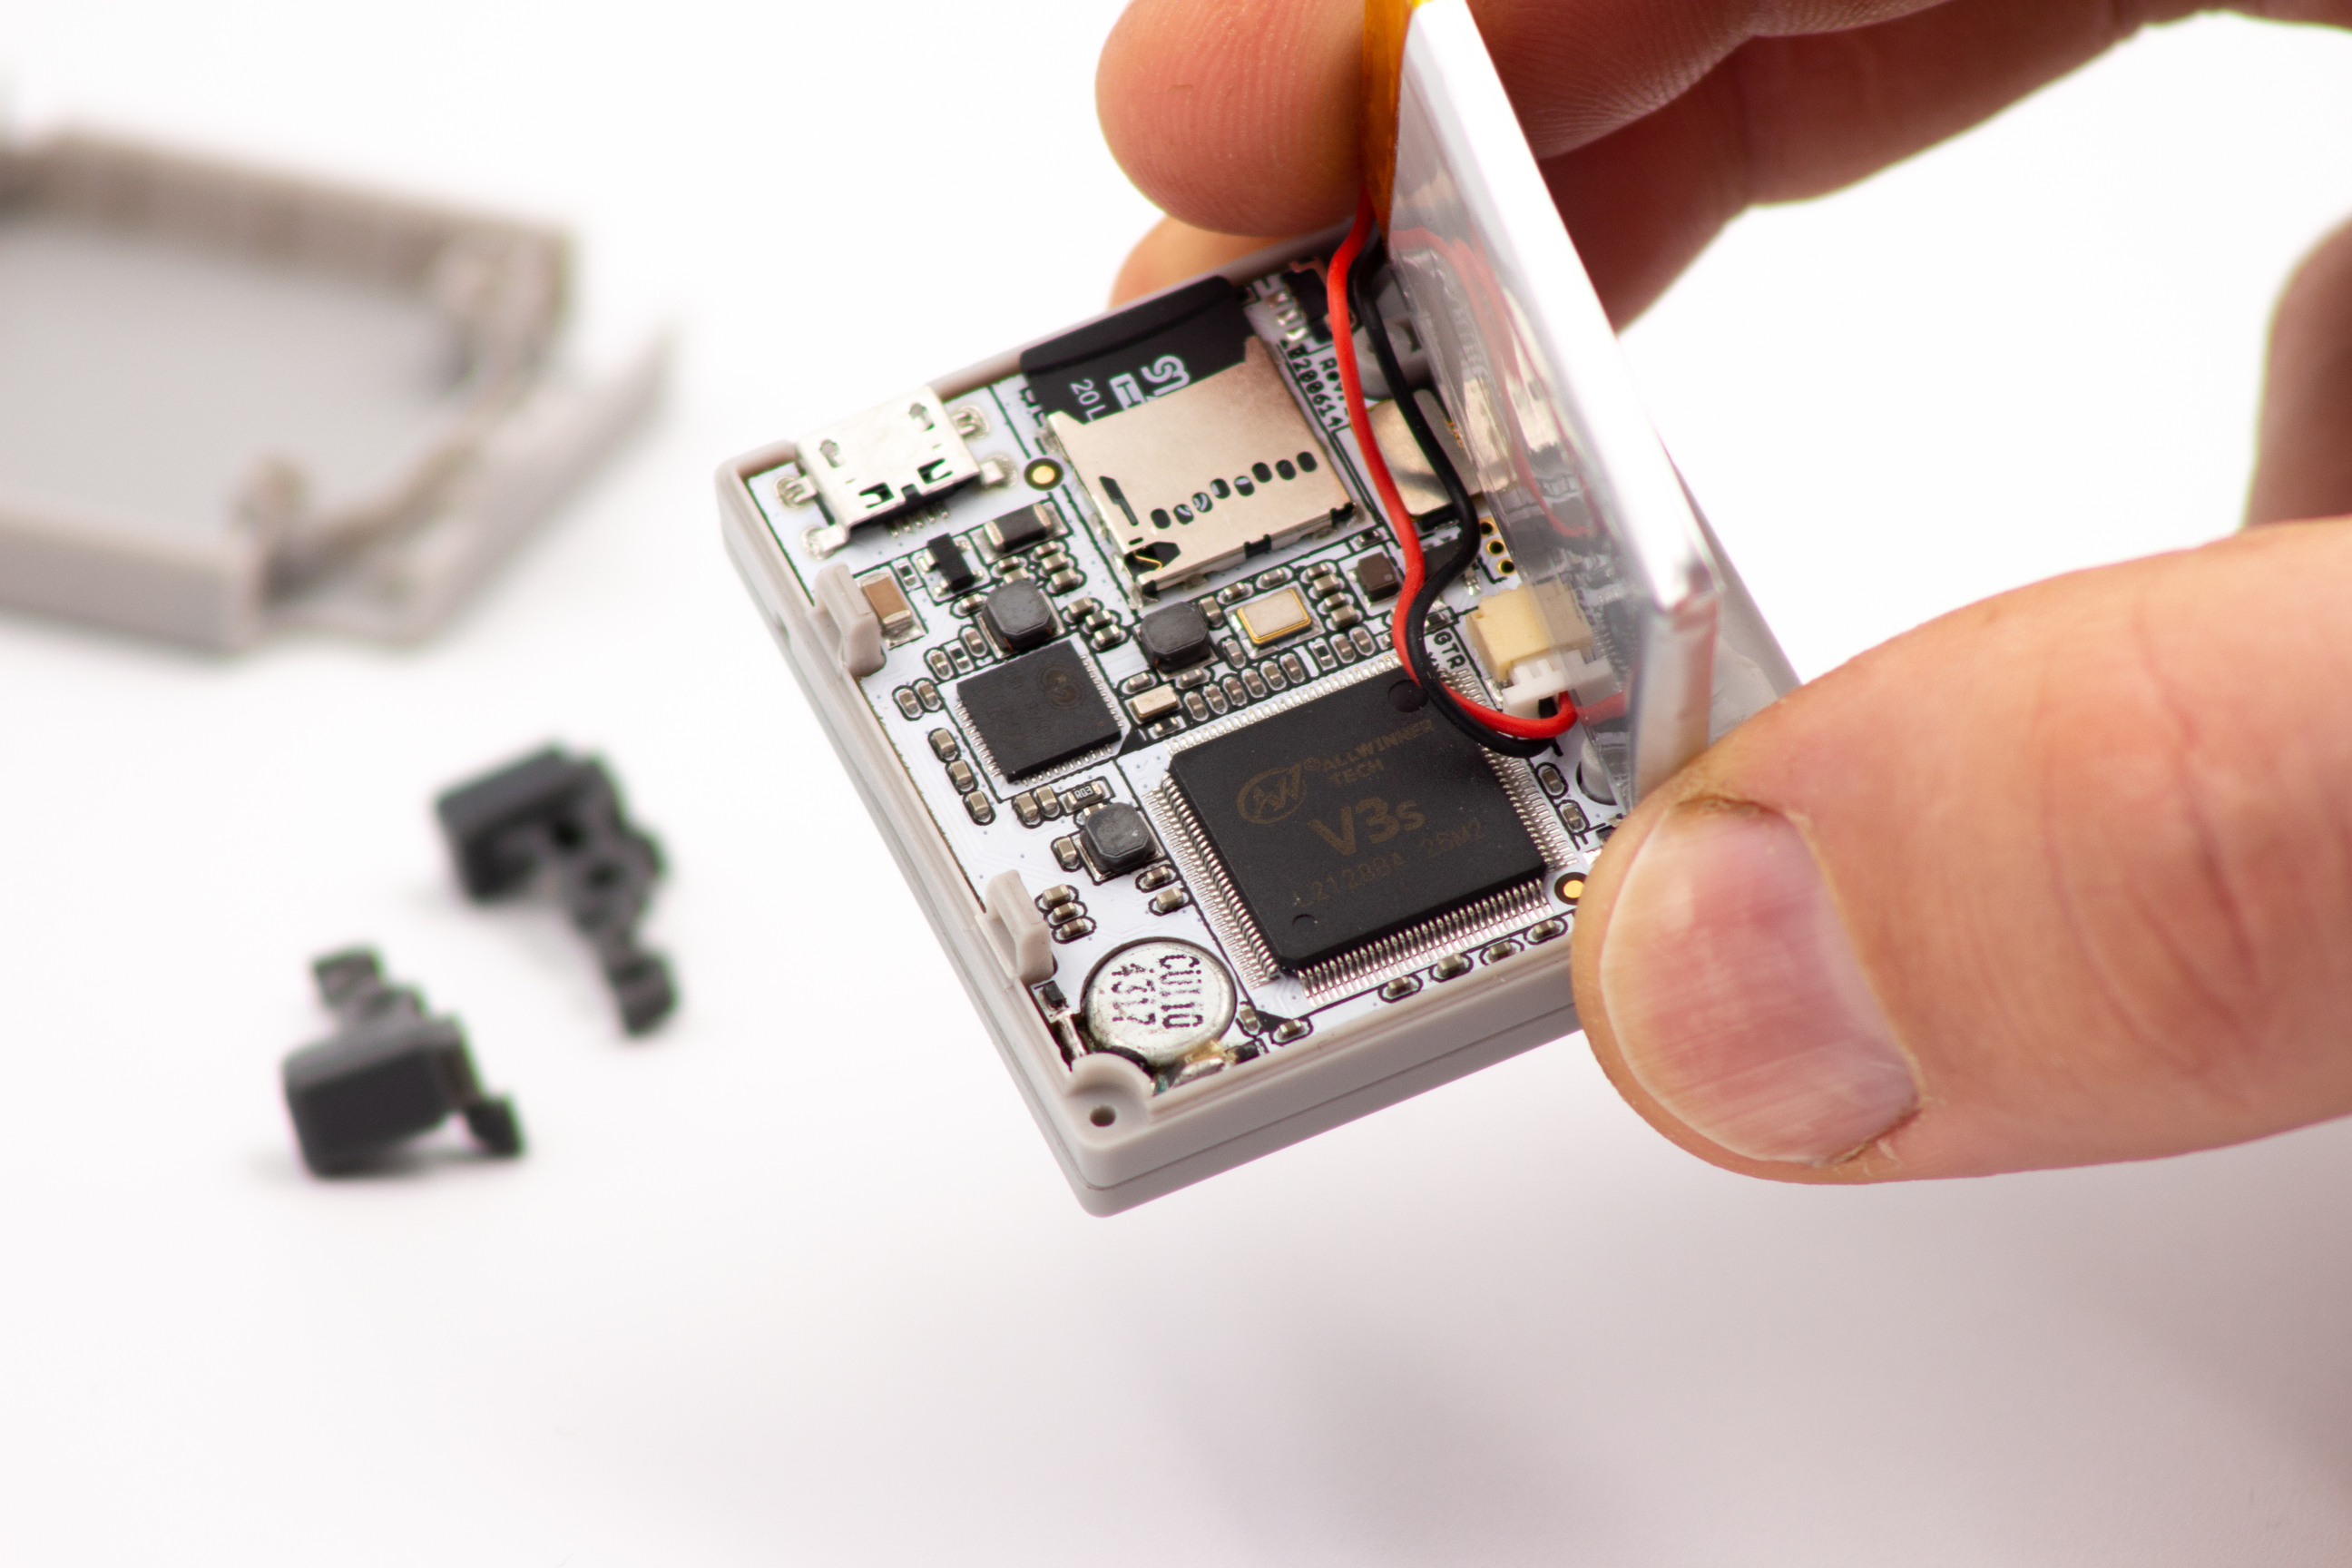
Lift the battery (but leave it connected) to expose the circuit board.
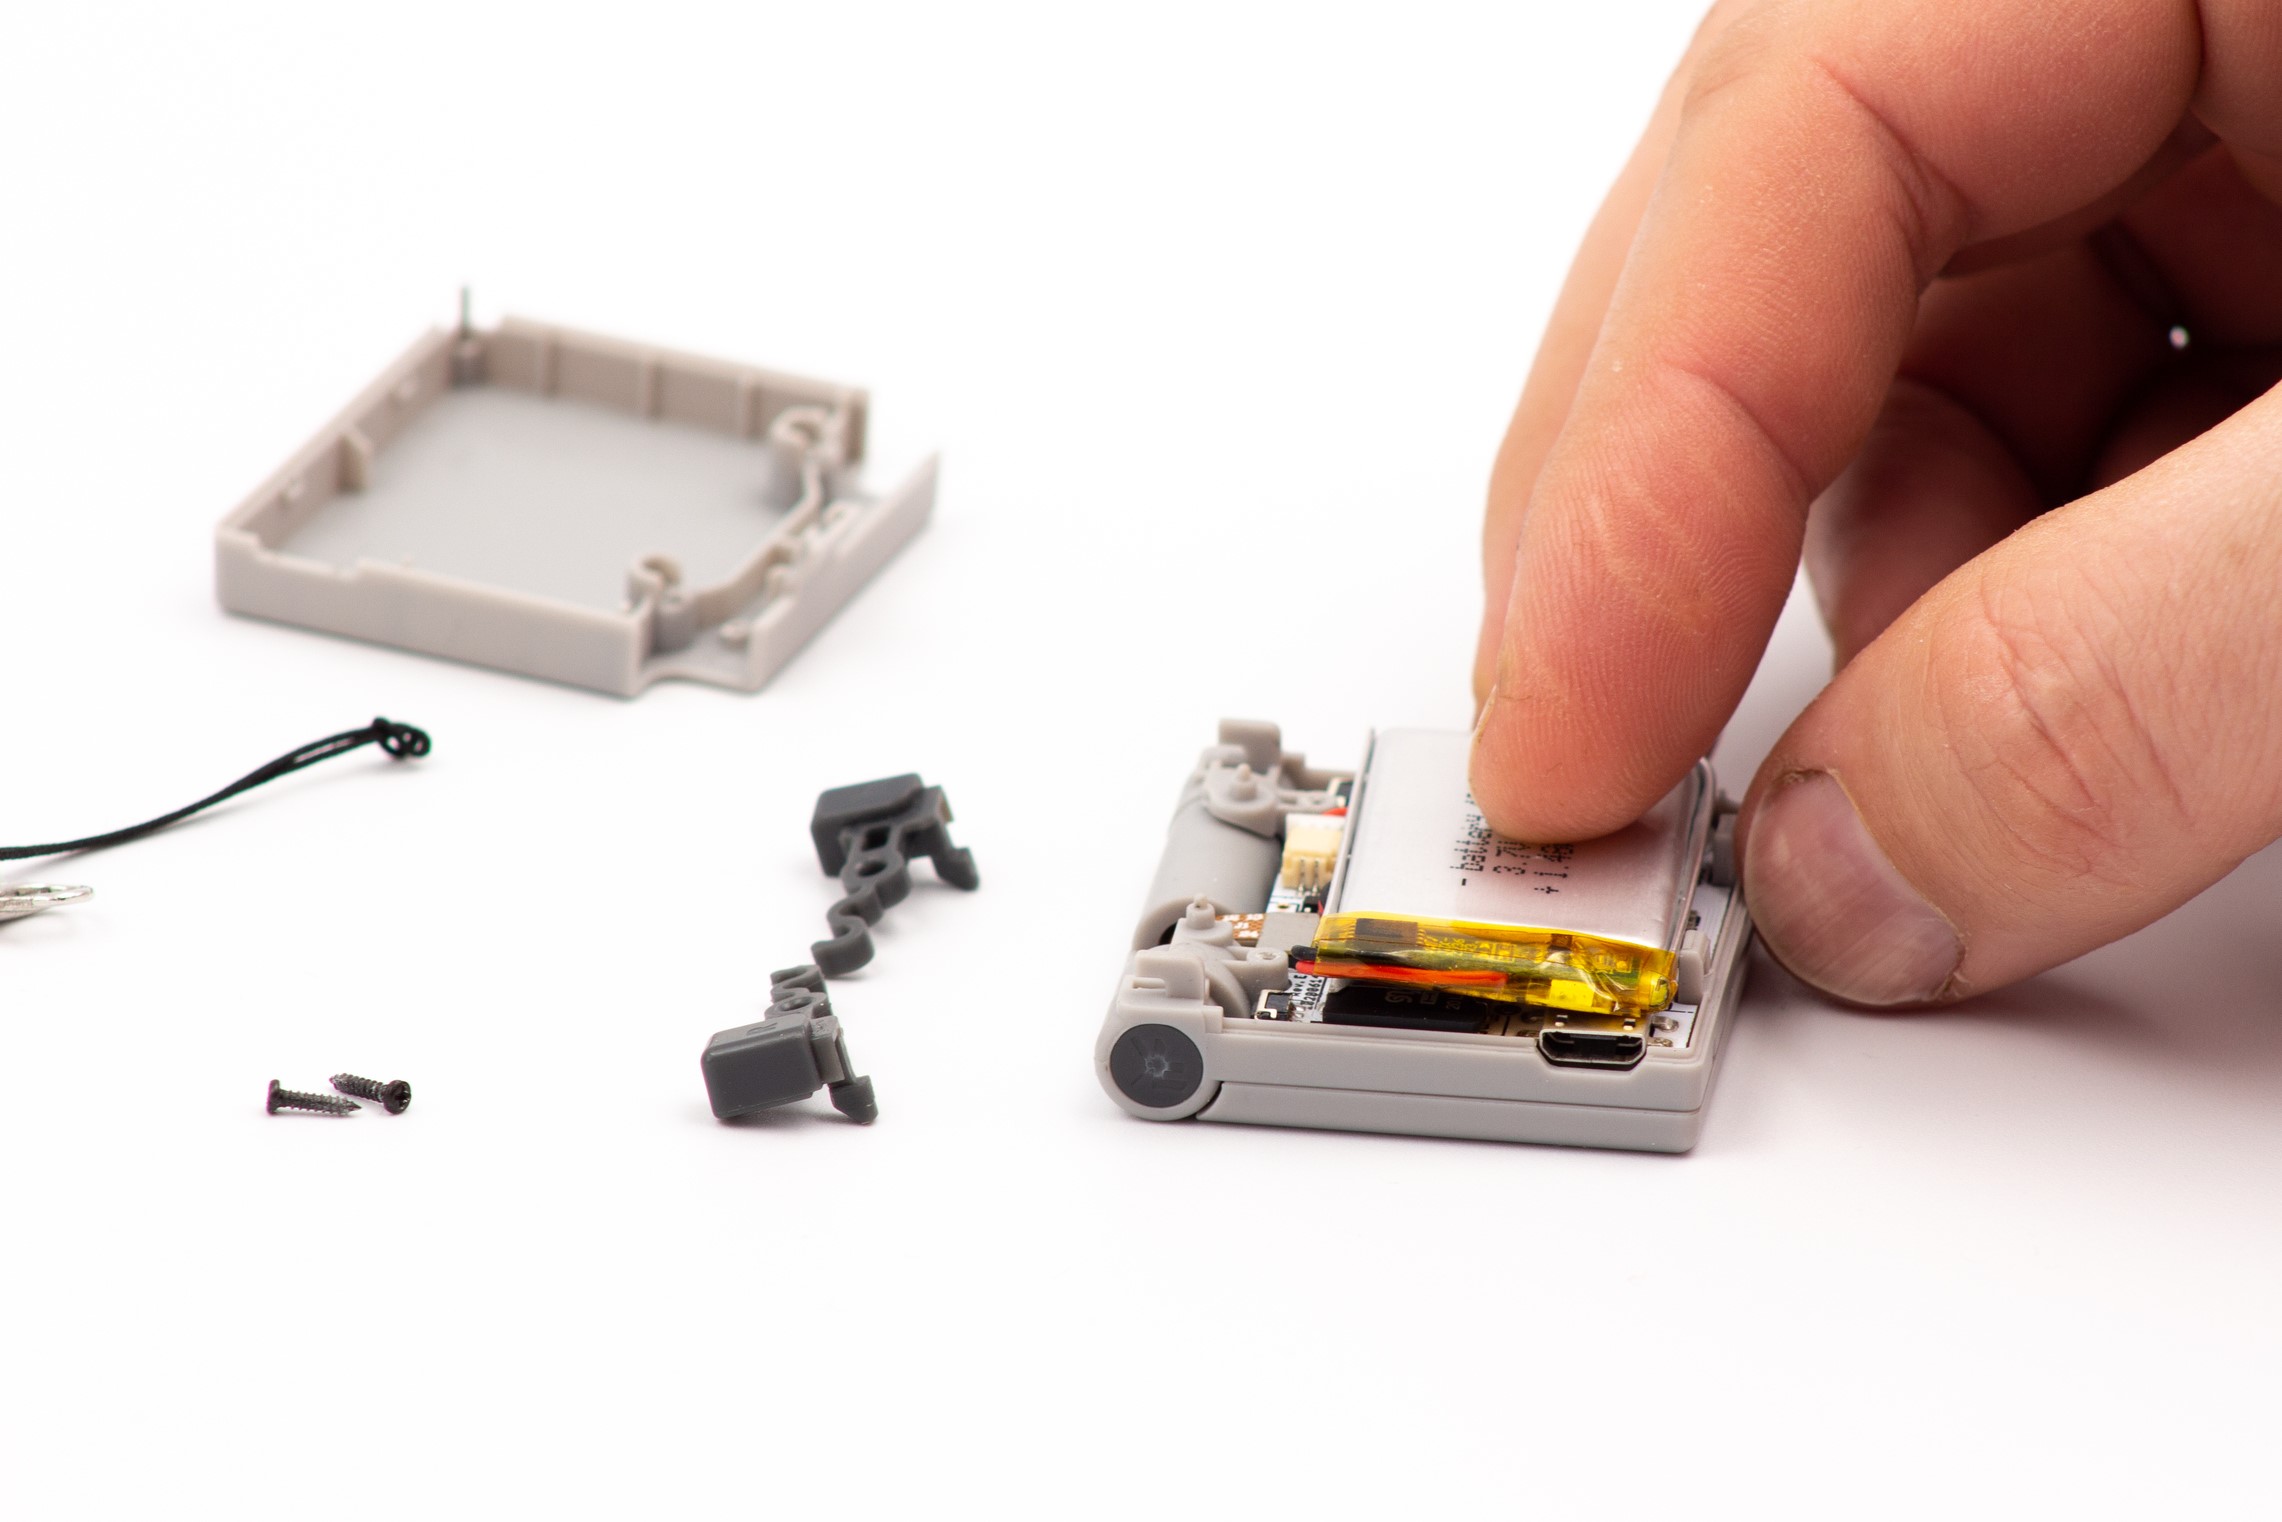
STEP 4 - Accessing the SD card
By grabbing it by the micro-USB port, gently pull up the circuit board until you have access to the SD card.
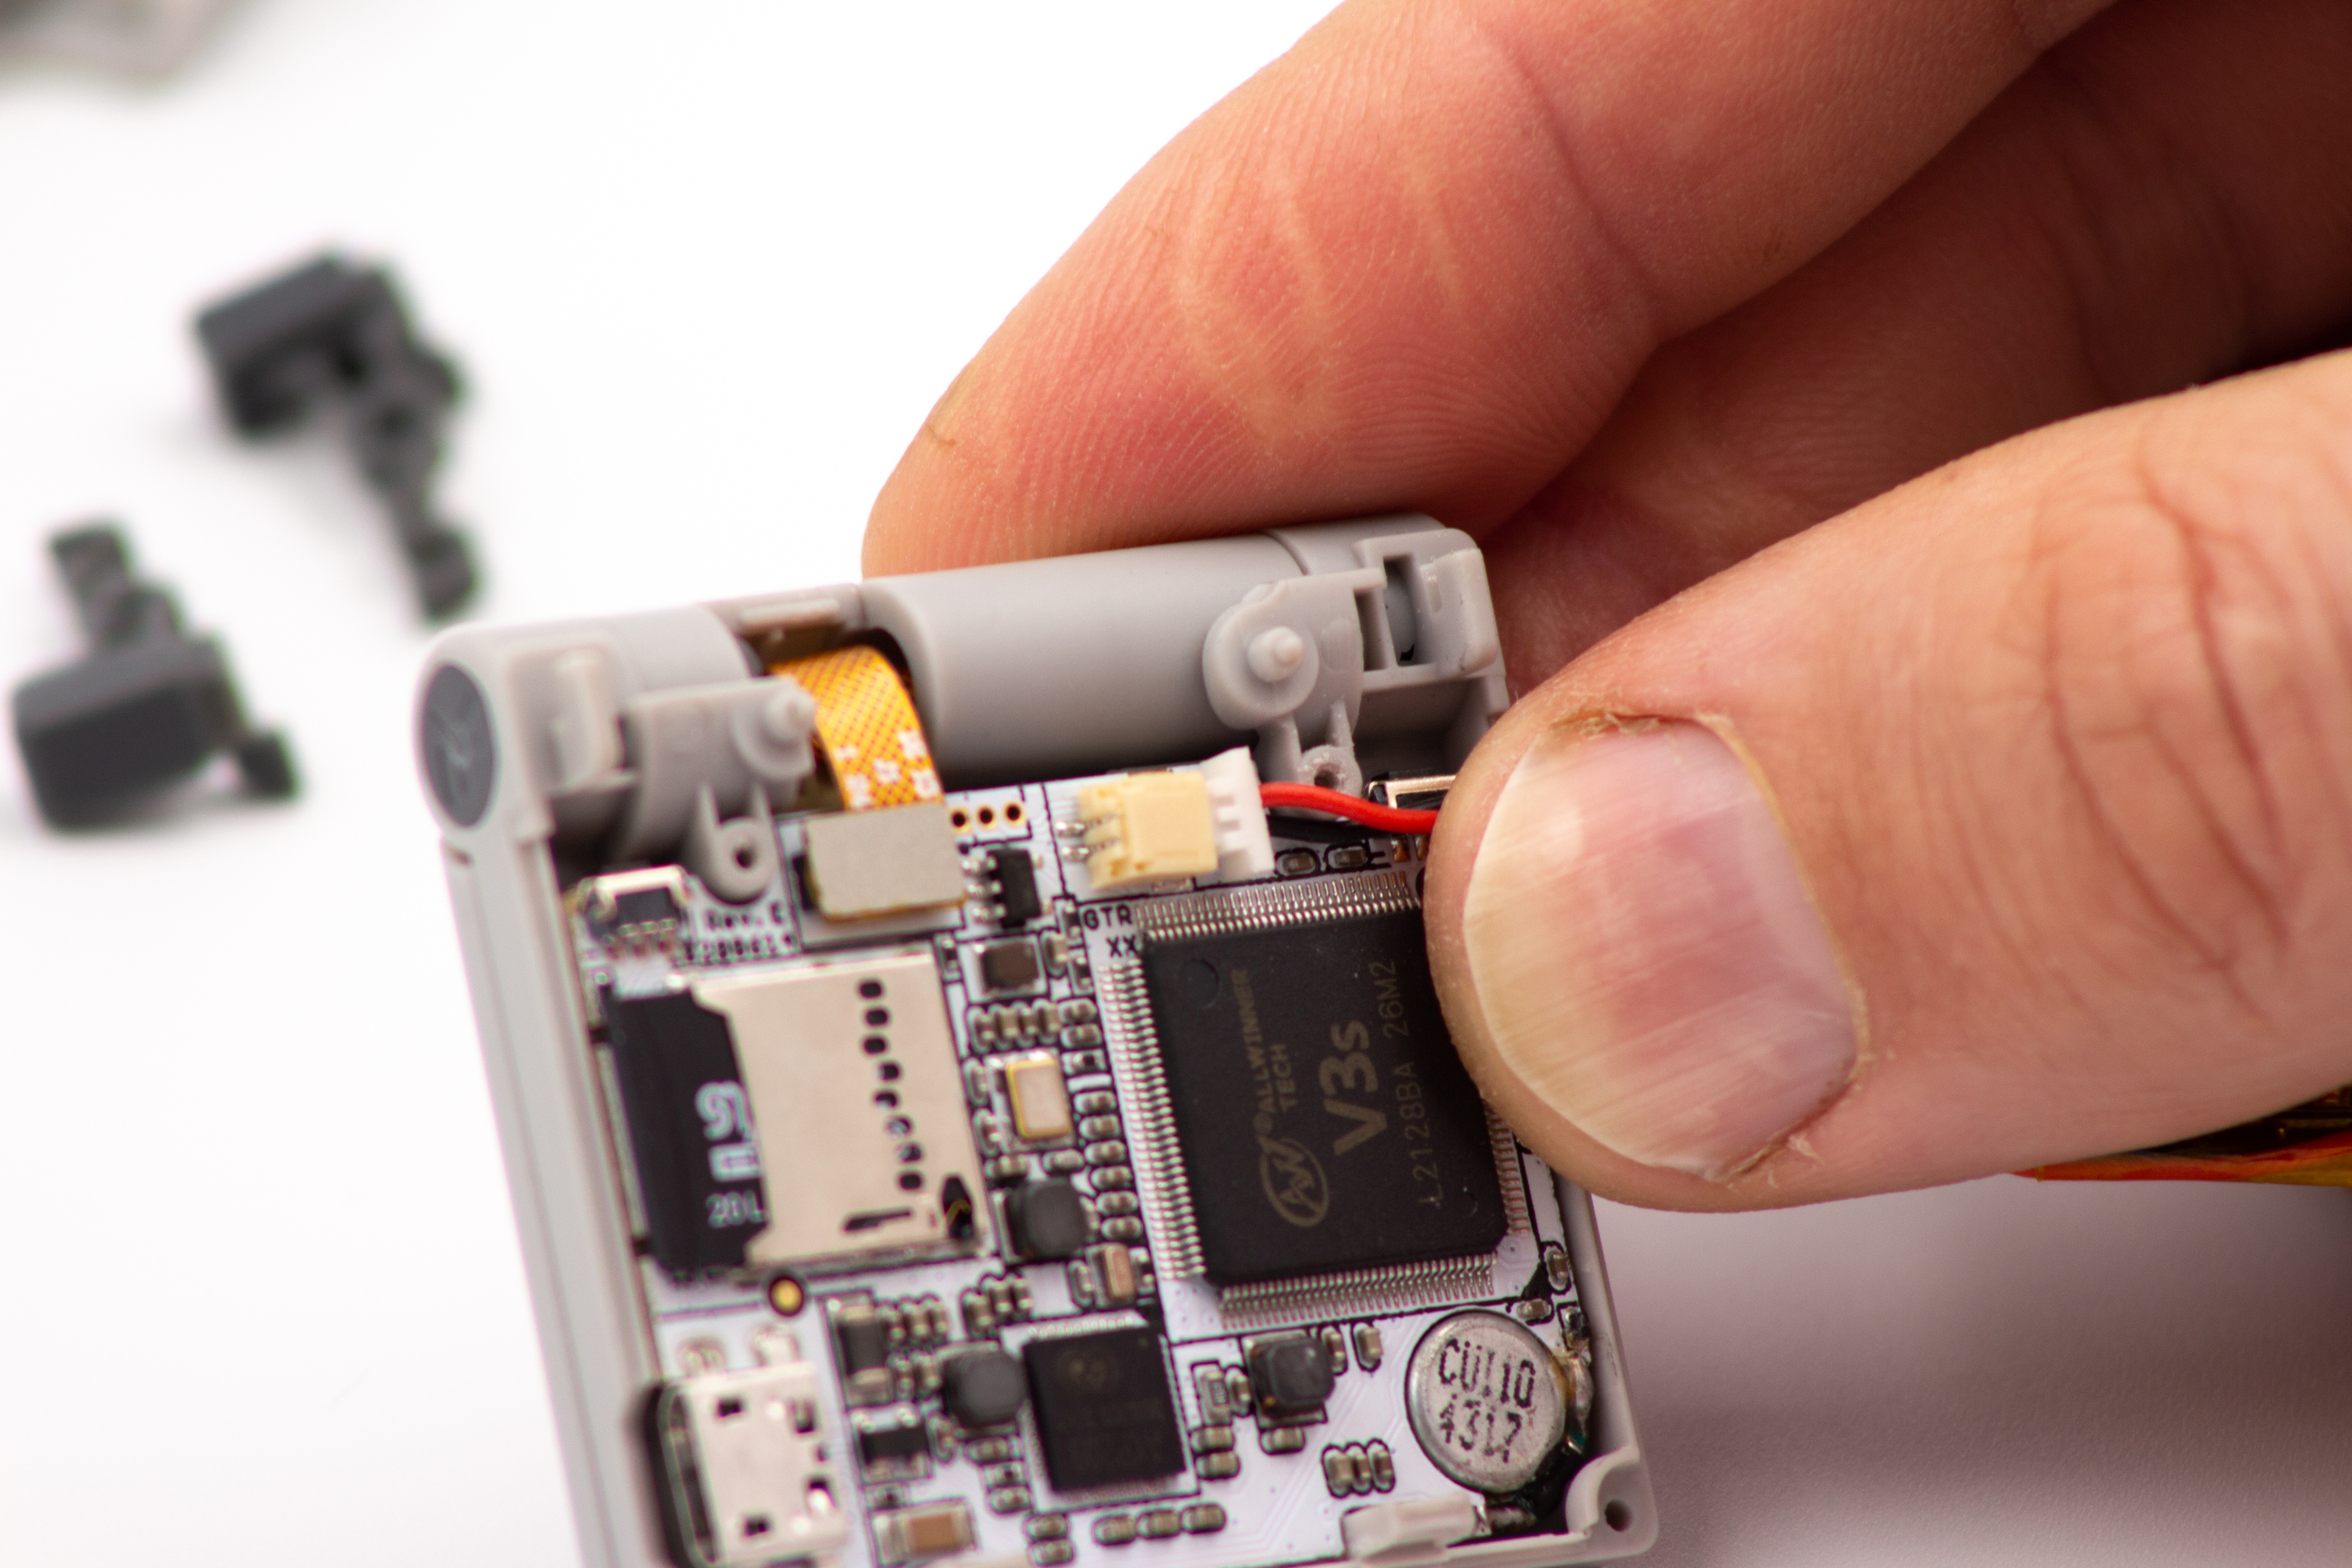
STEP 5 - Switching SD cards
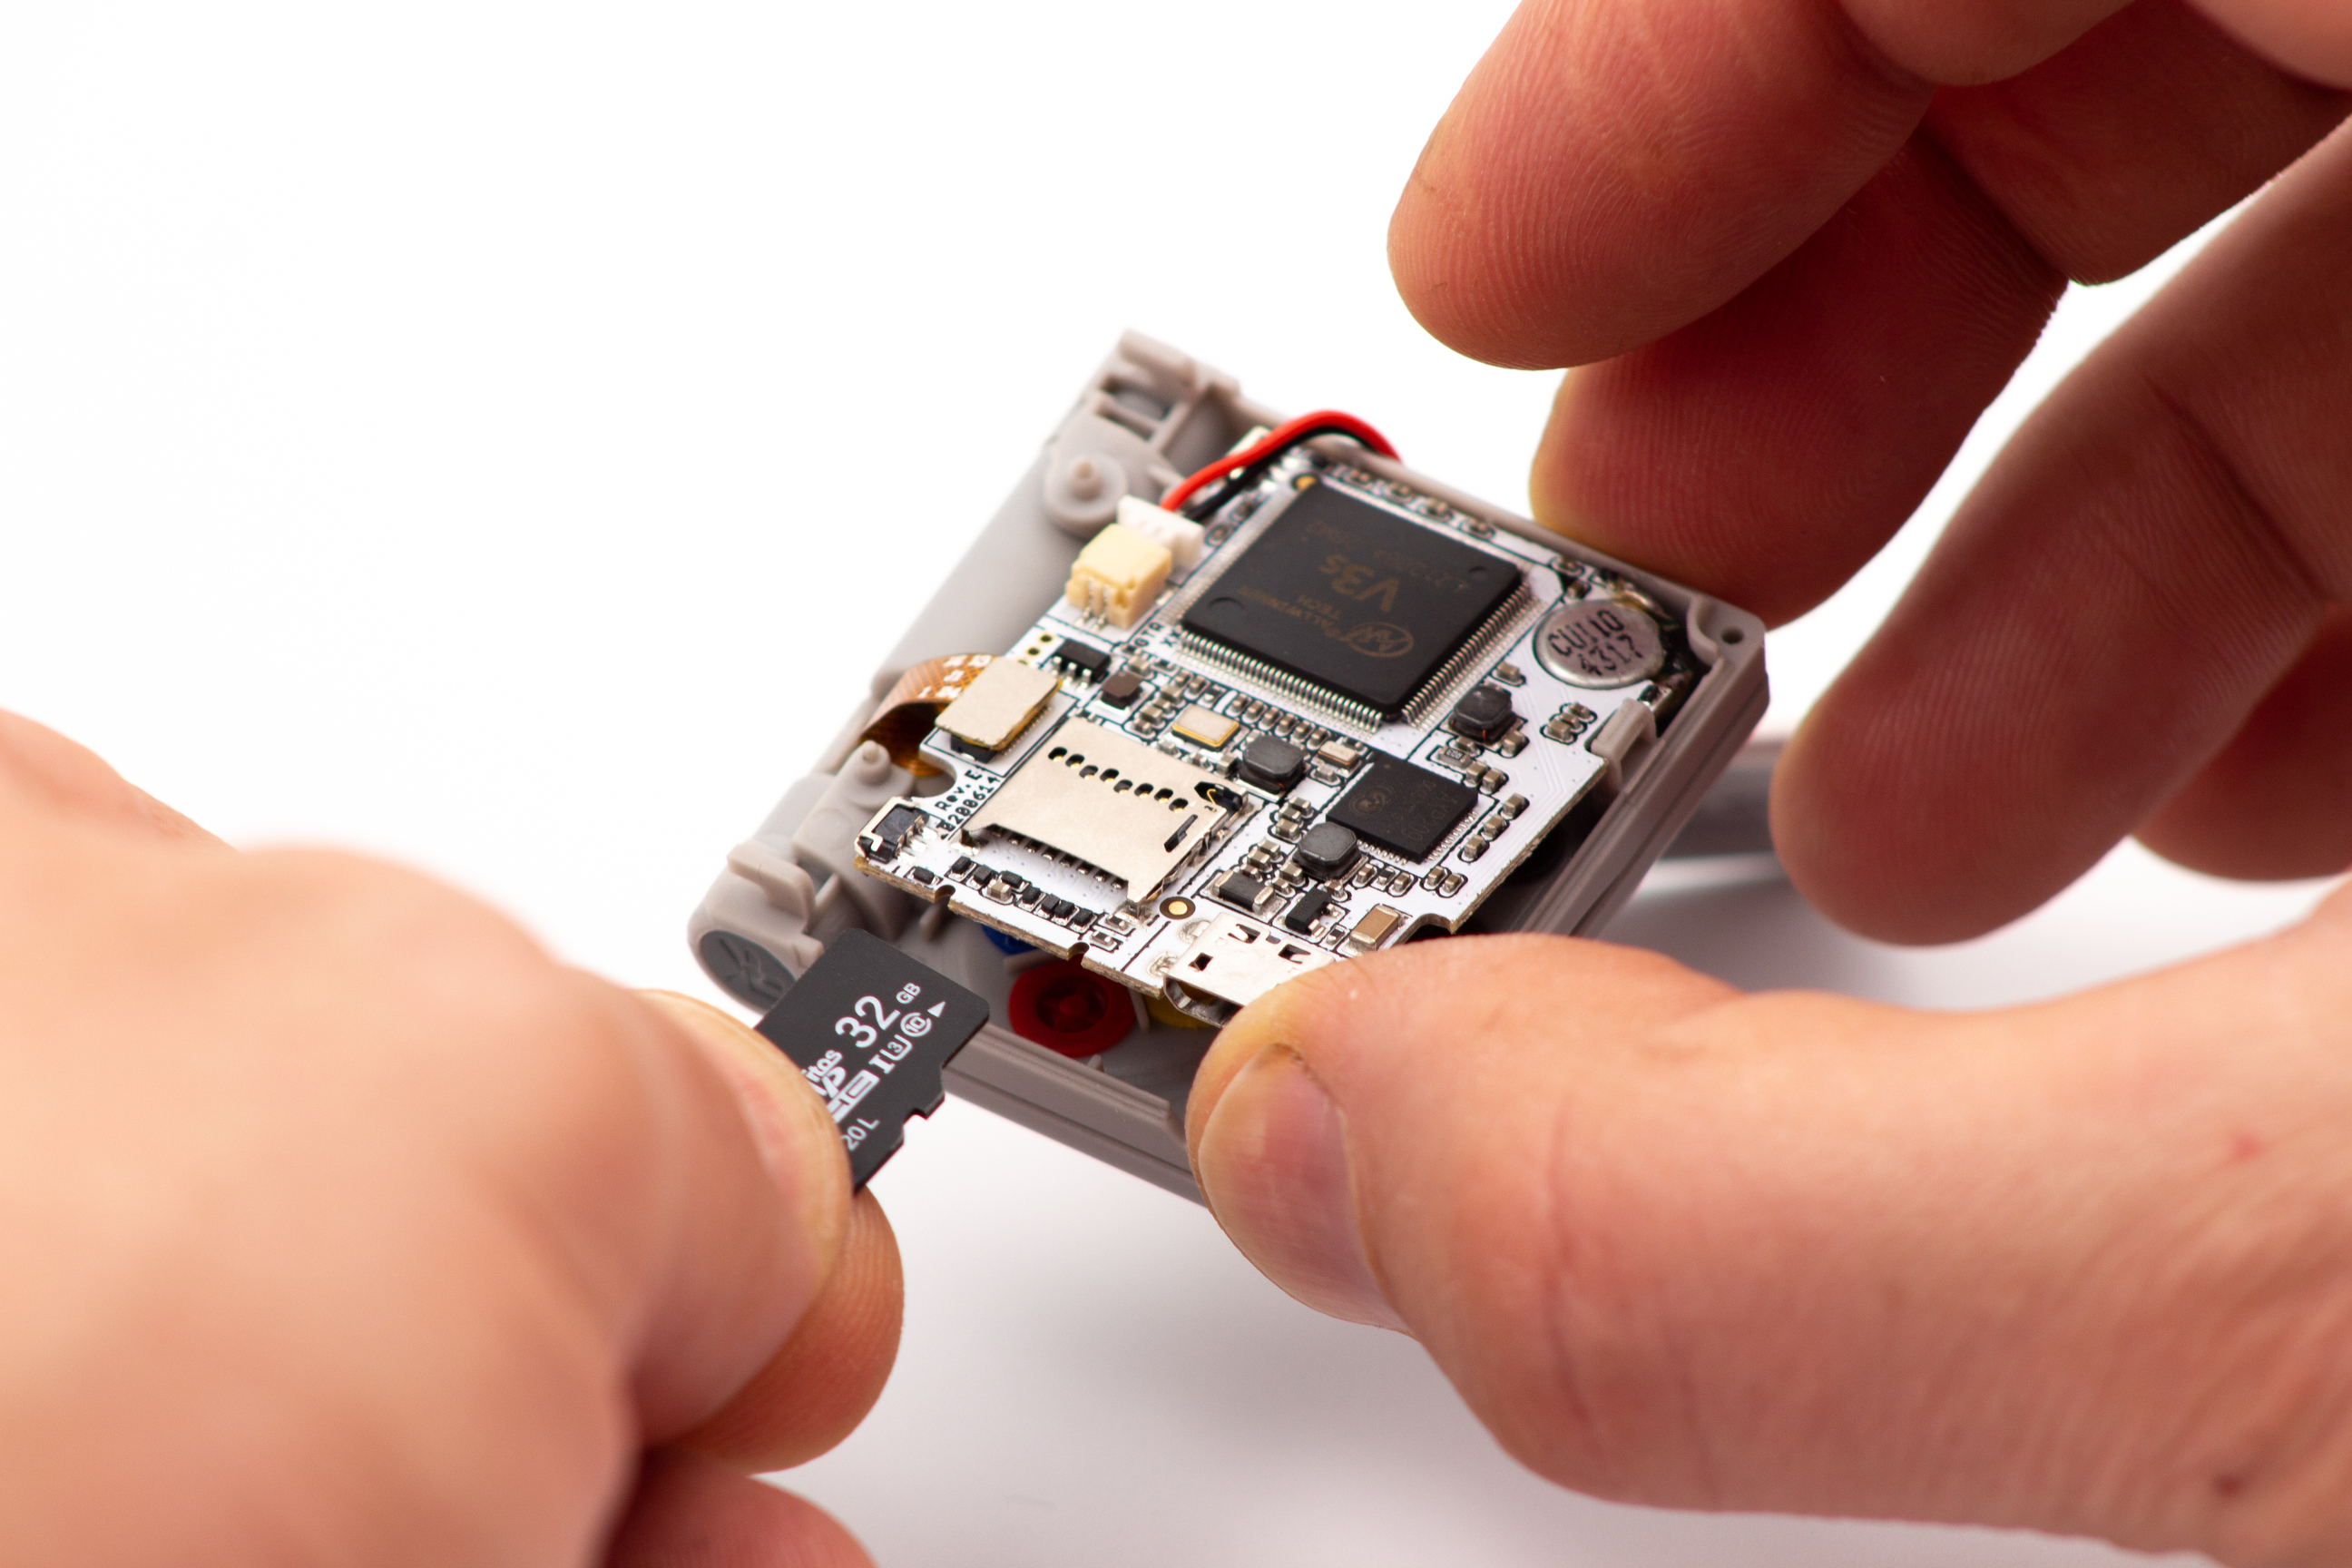
You can now remove the old micro-SD card from its socket and insert the new one (previously flashed as described in the 1st part of this tutorial).
Note
You may need to use some tweezers and pull with some strength in order to remove the micro-SD card from its socket, as it is strongly inserted to prevent loose connections.
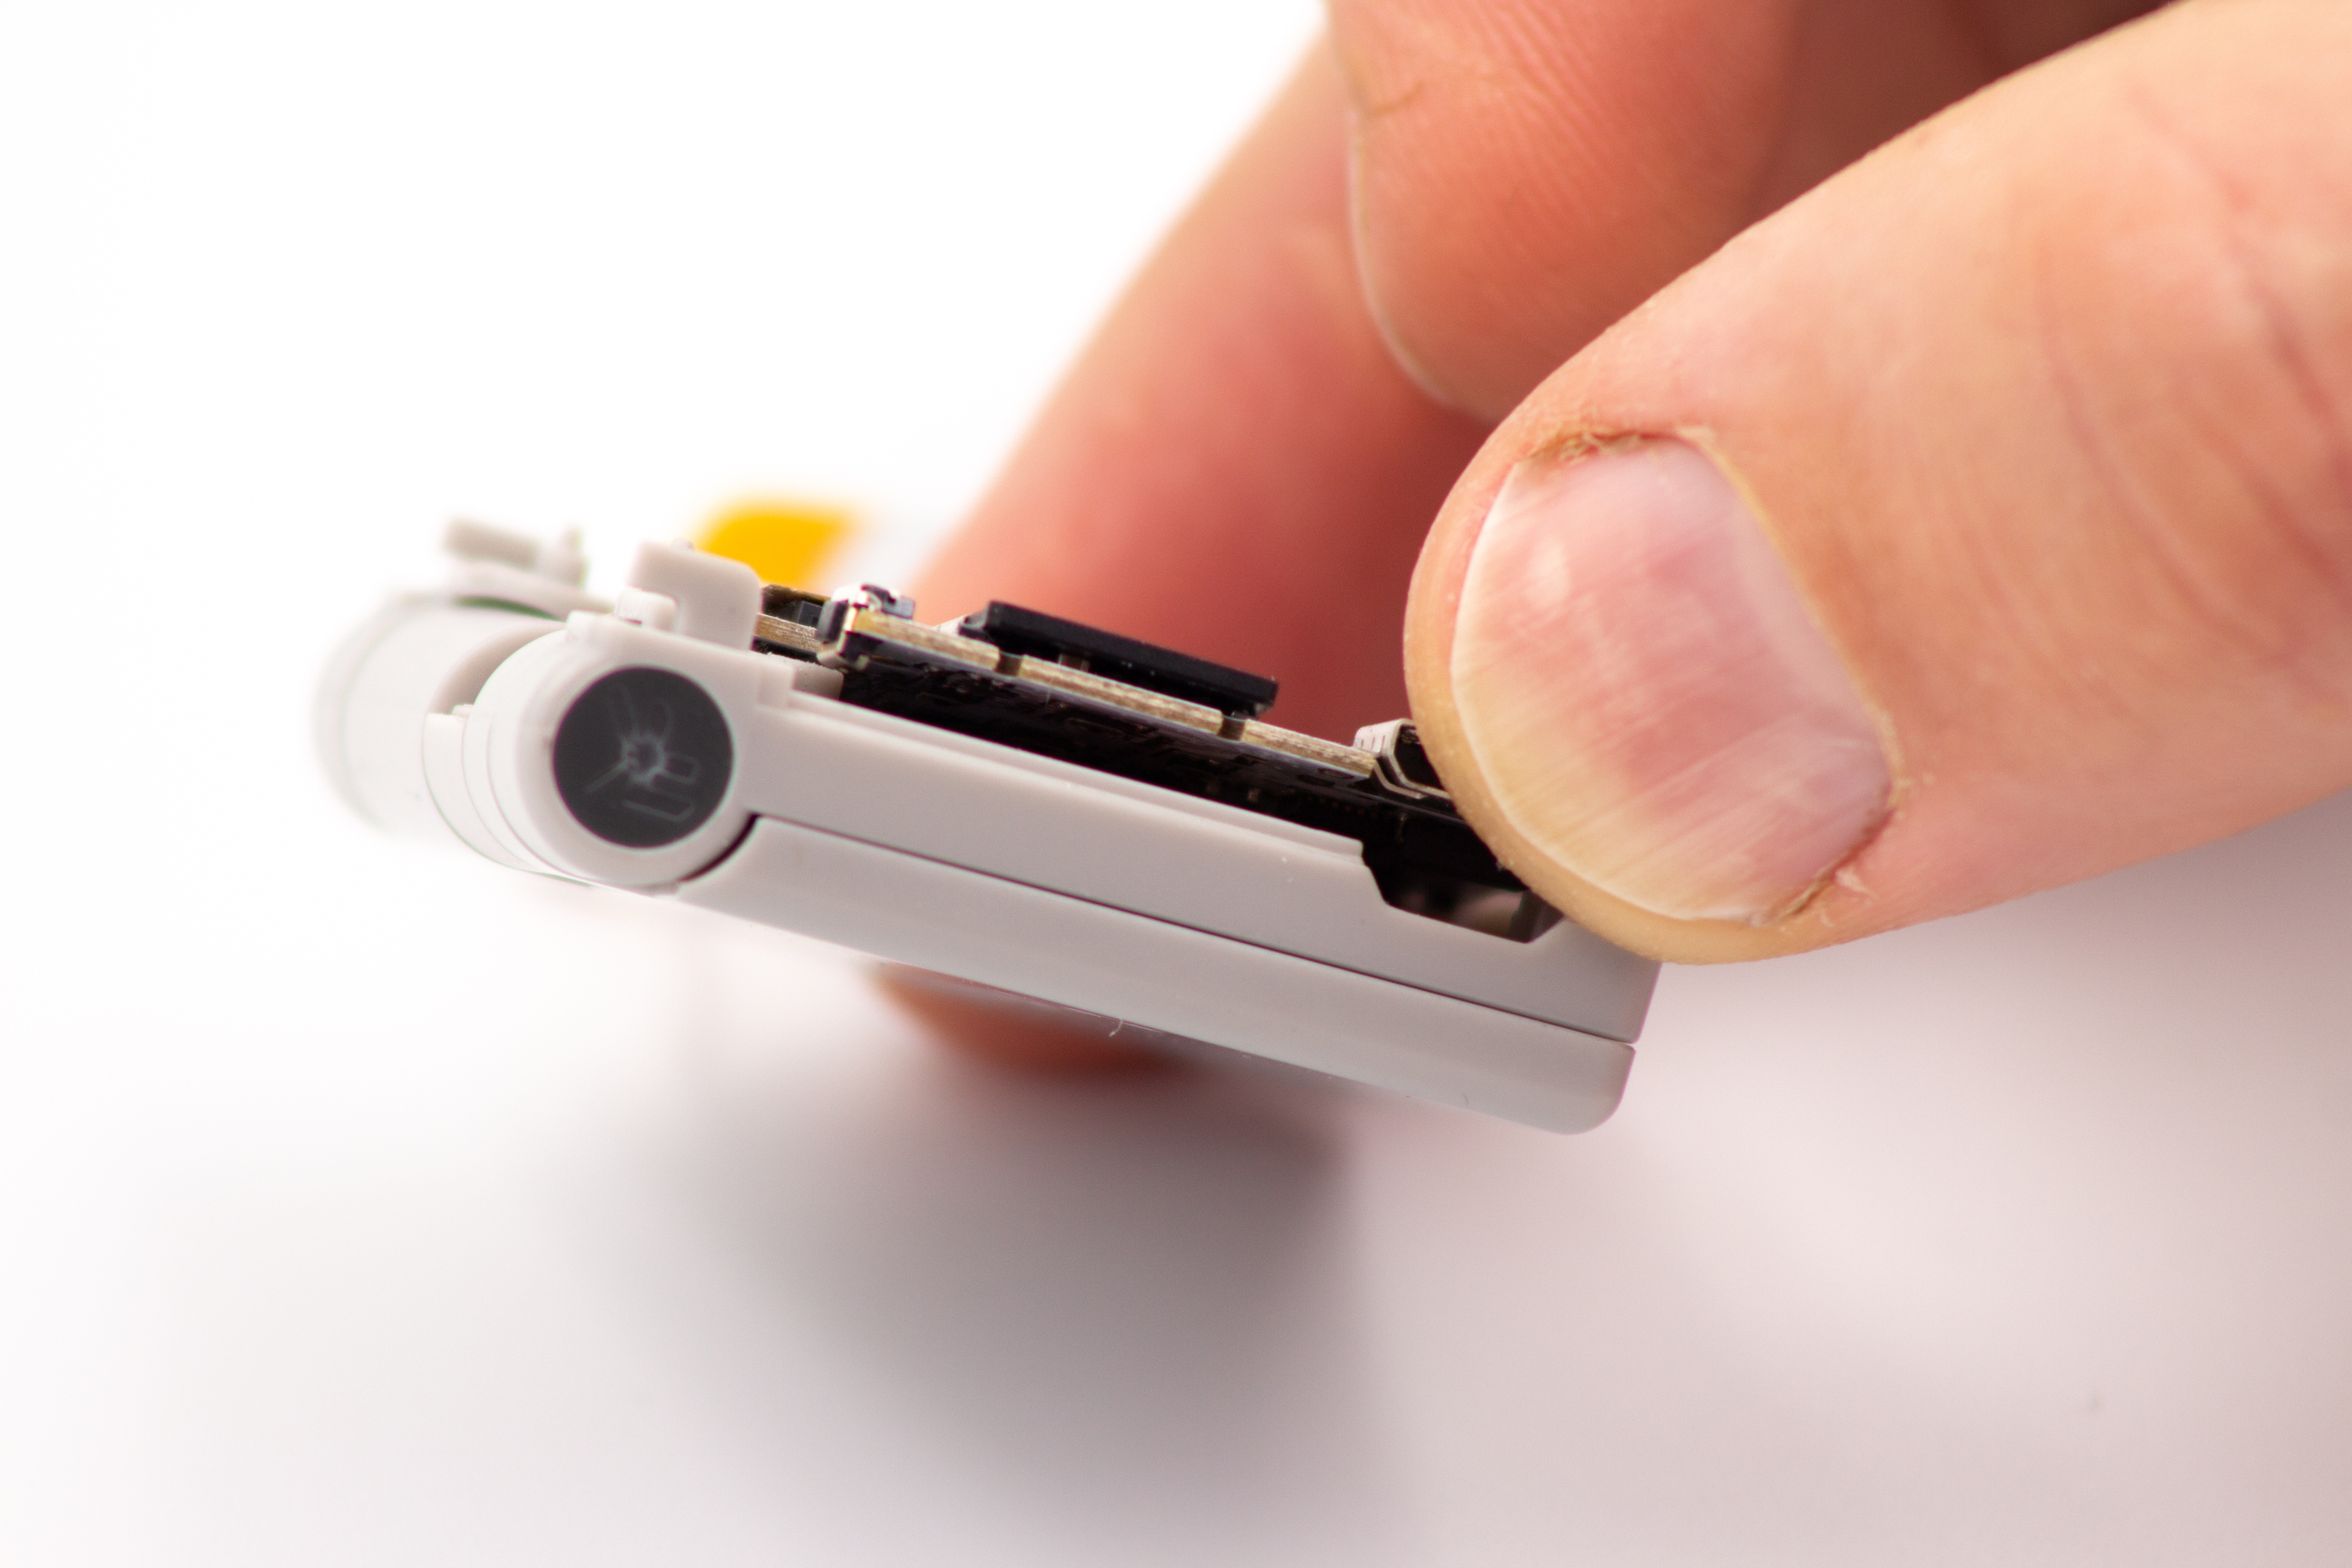
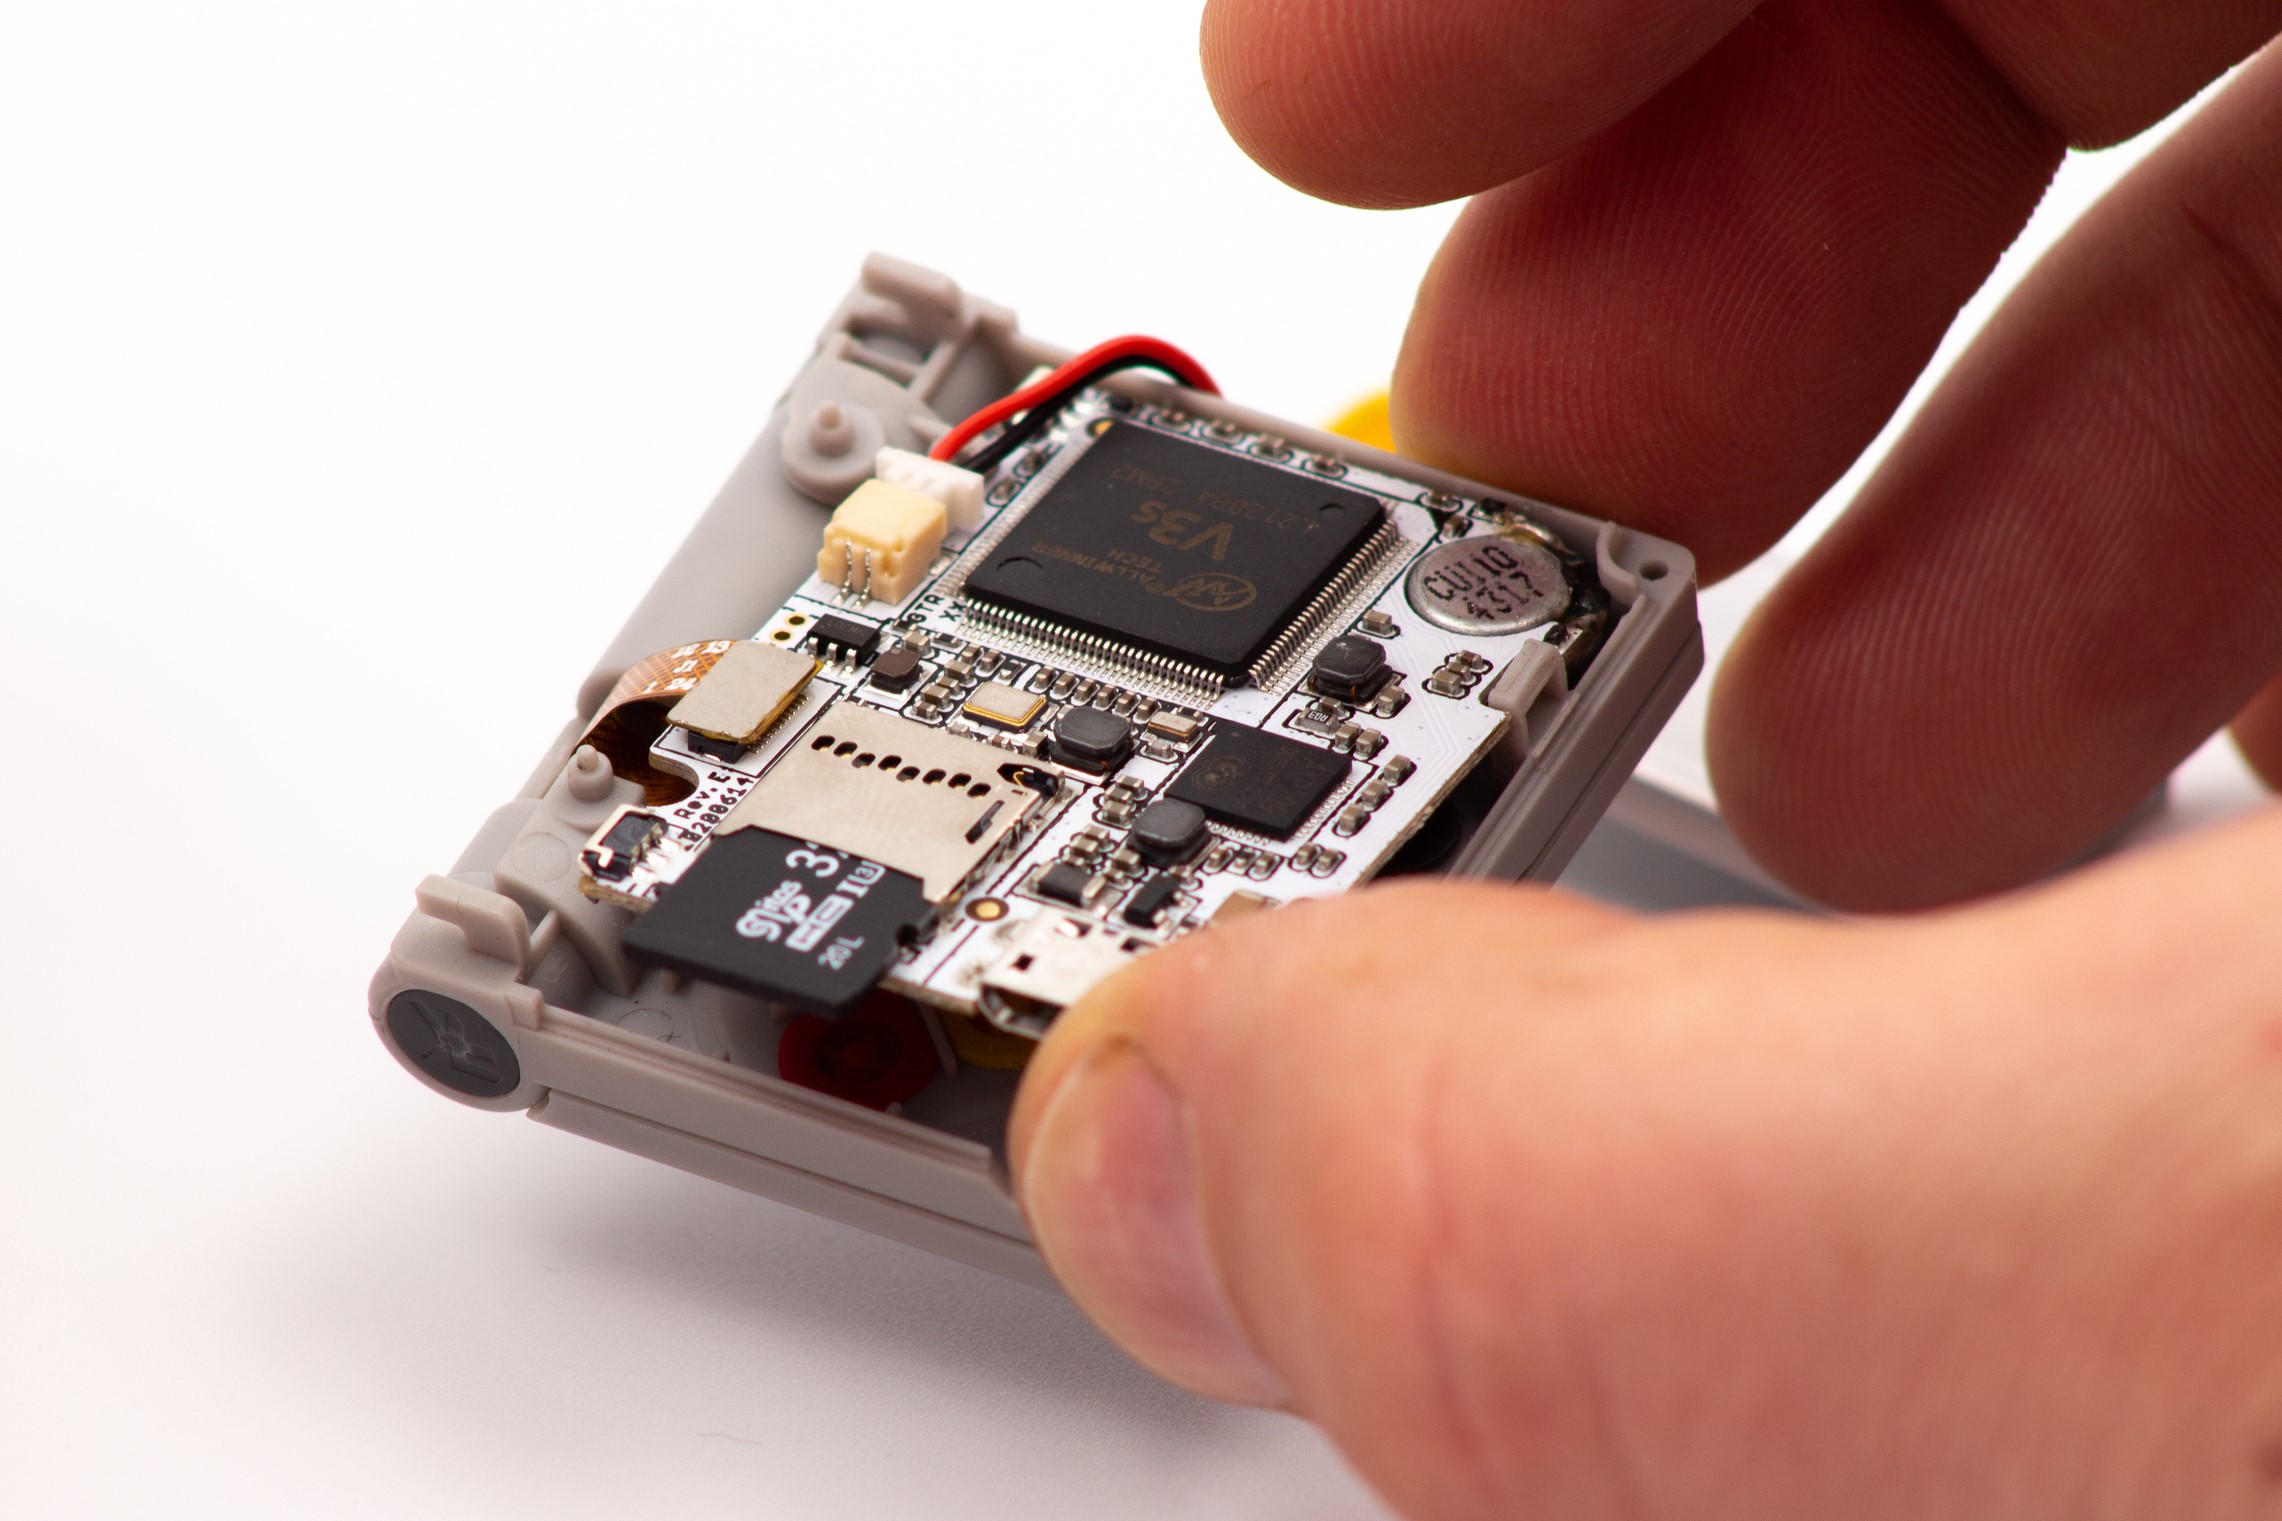
STEP 6 - Reassembly
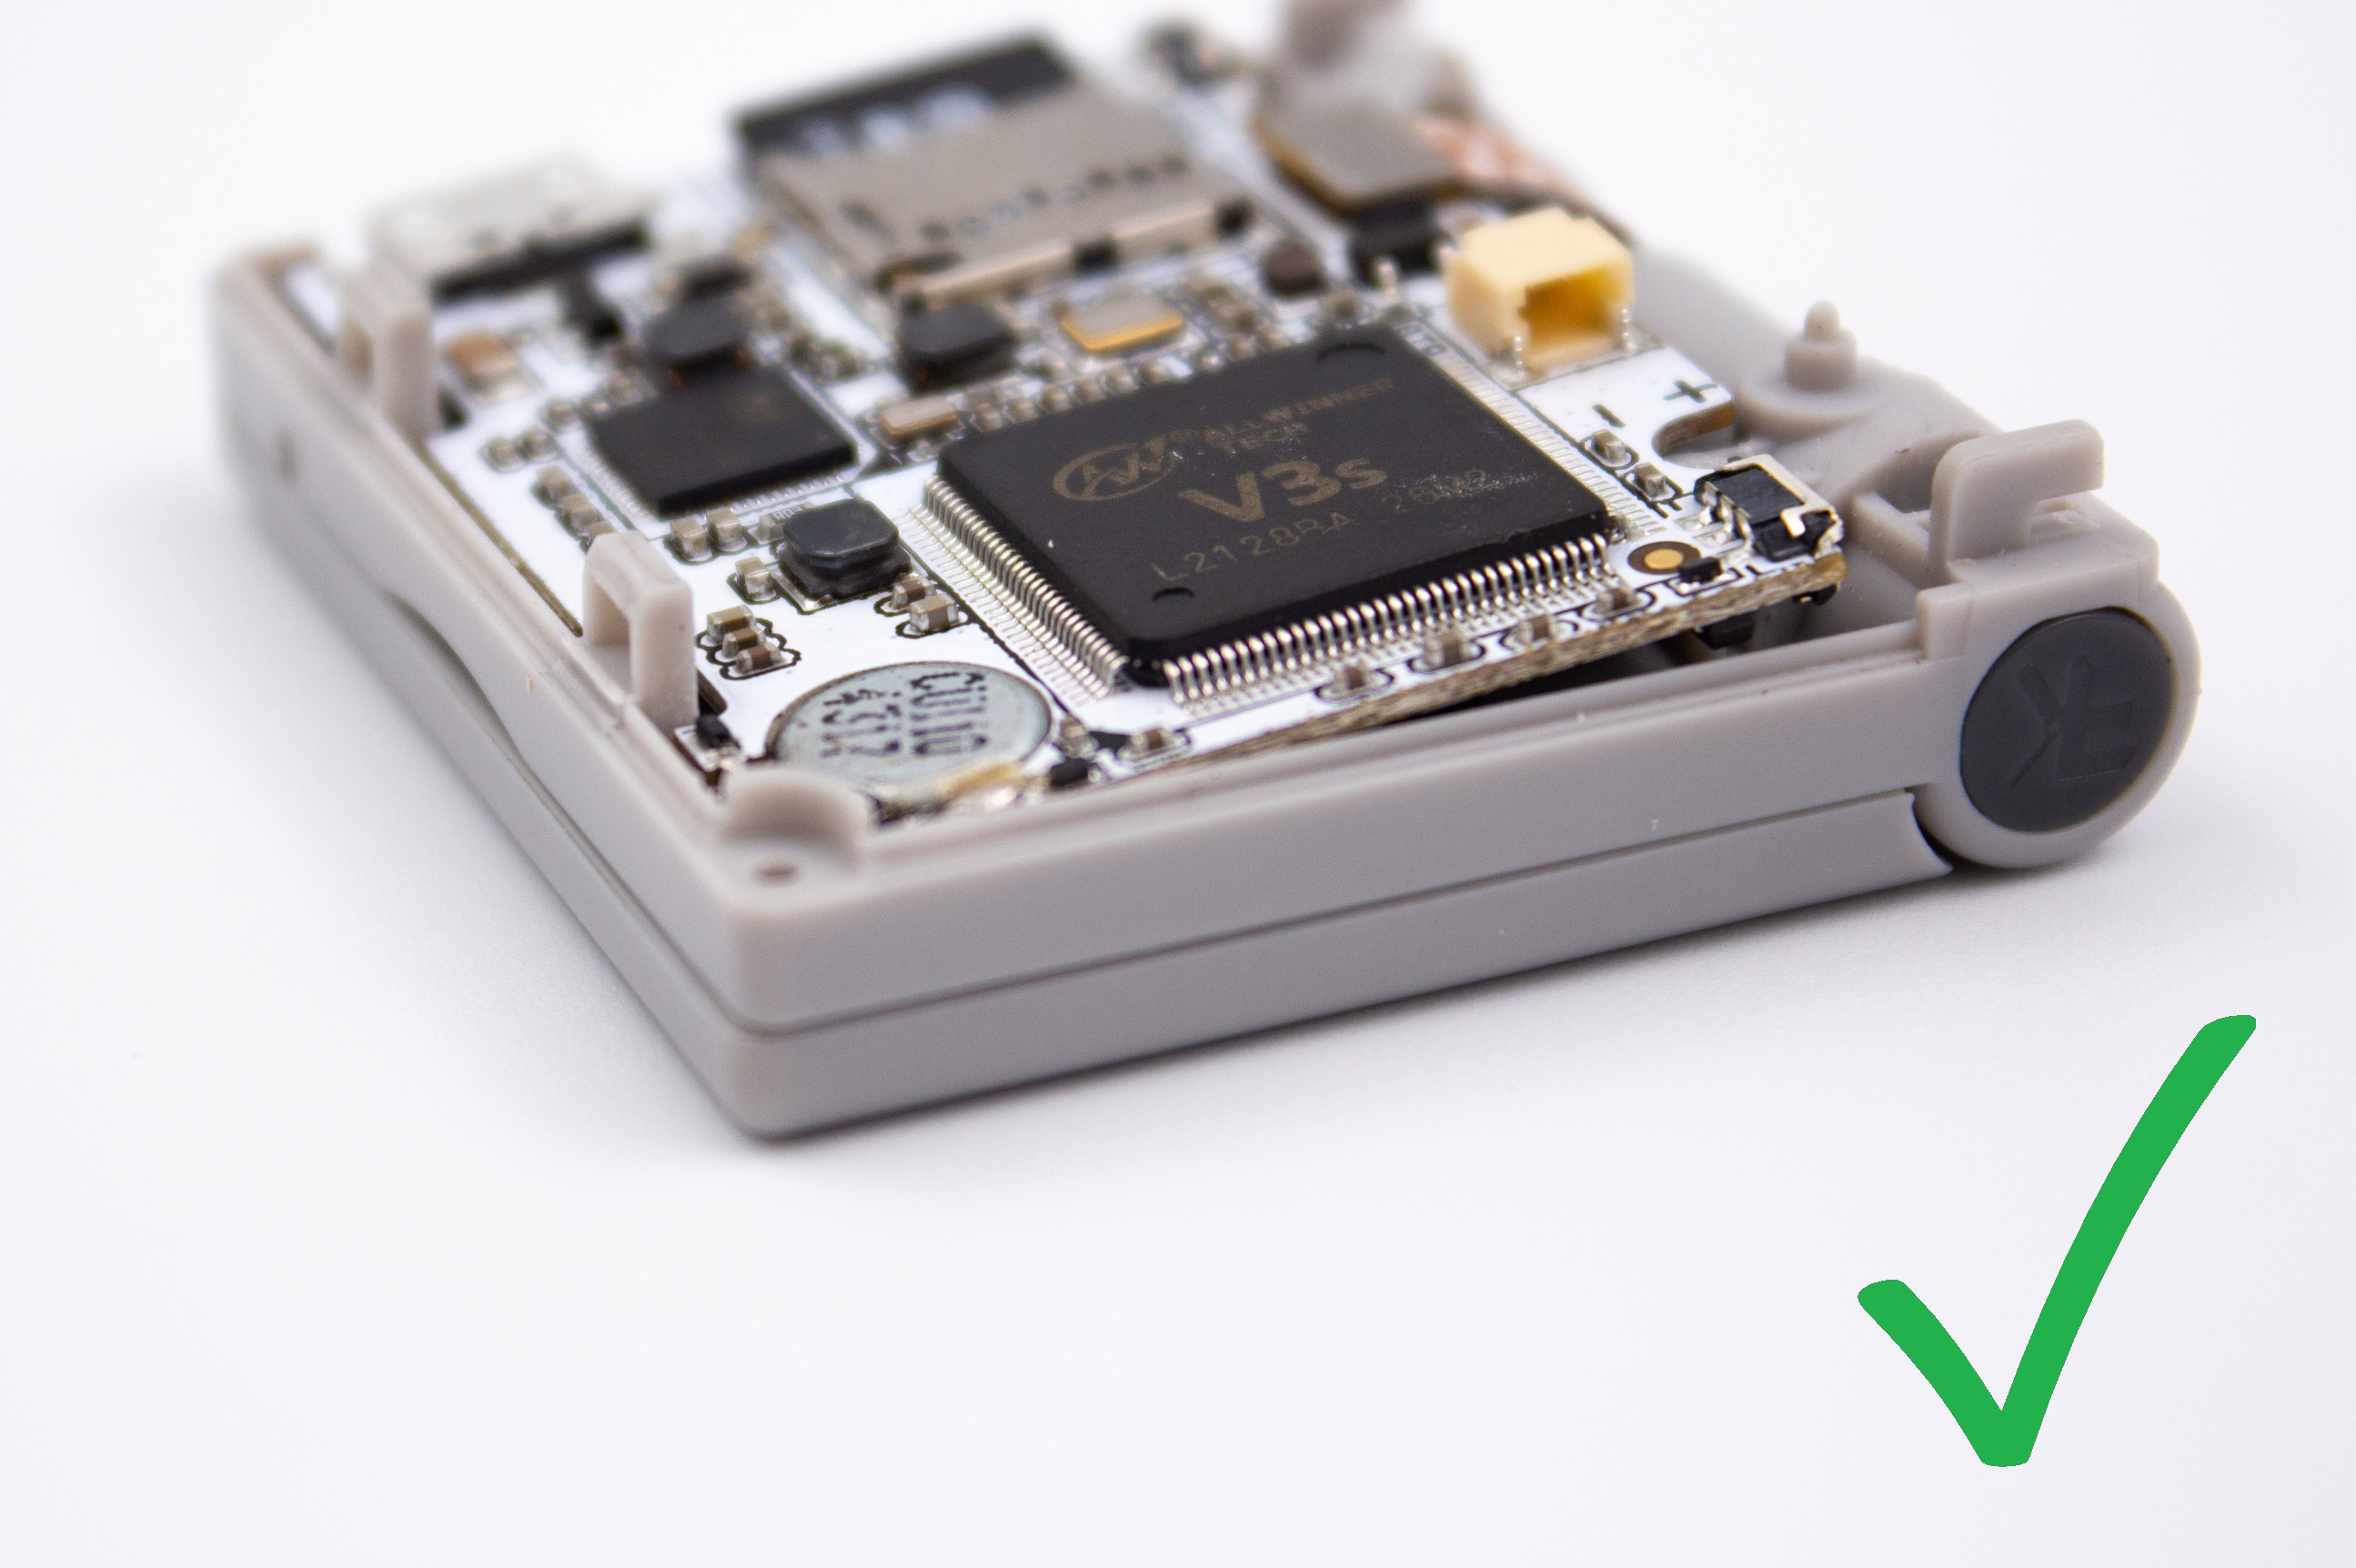
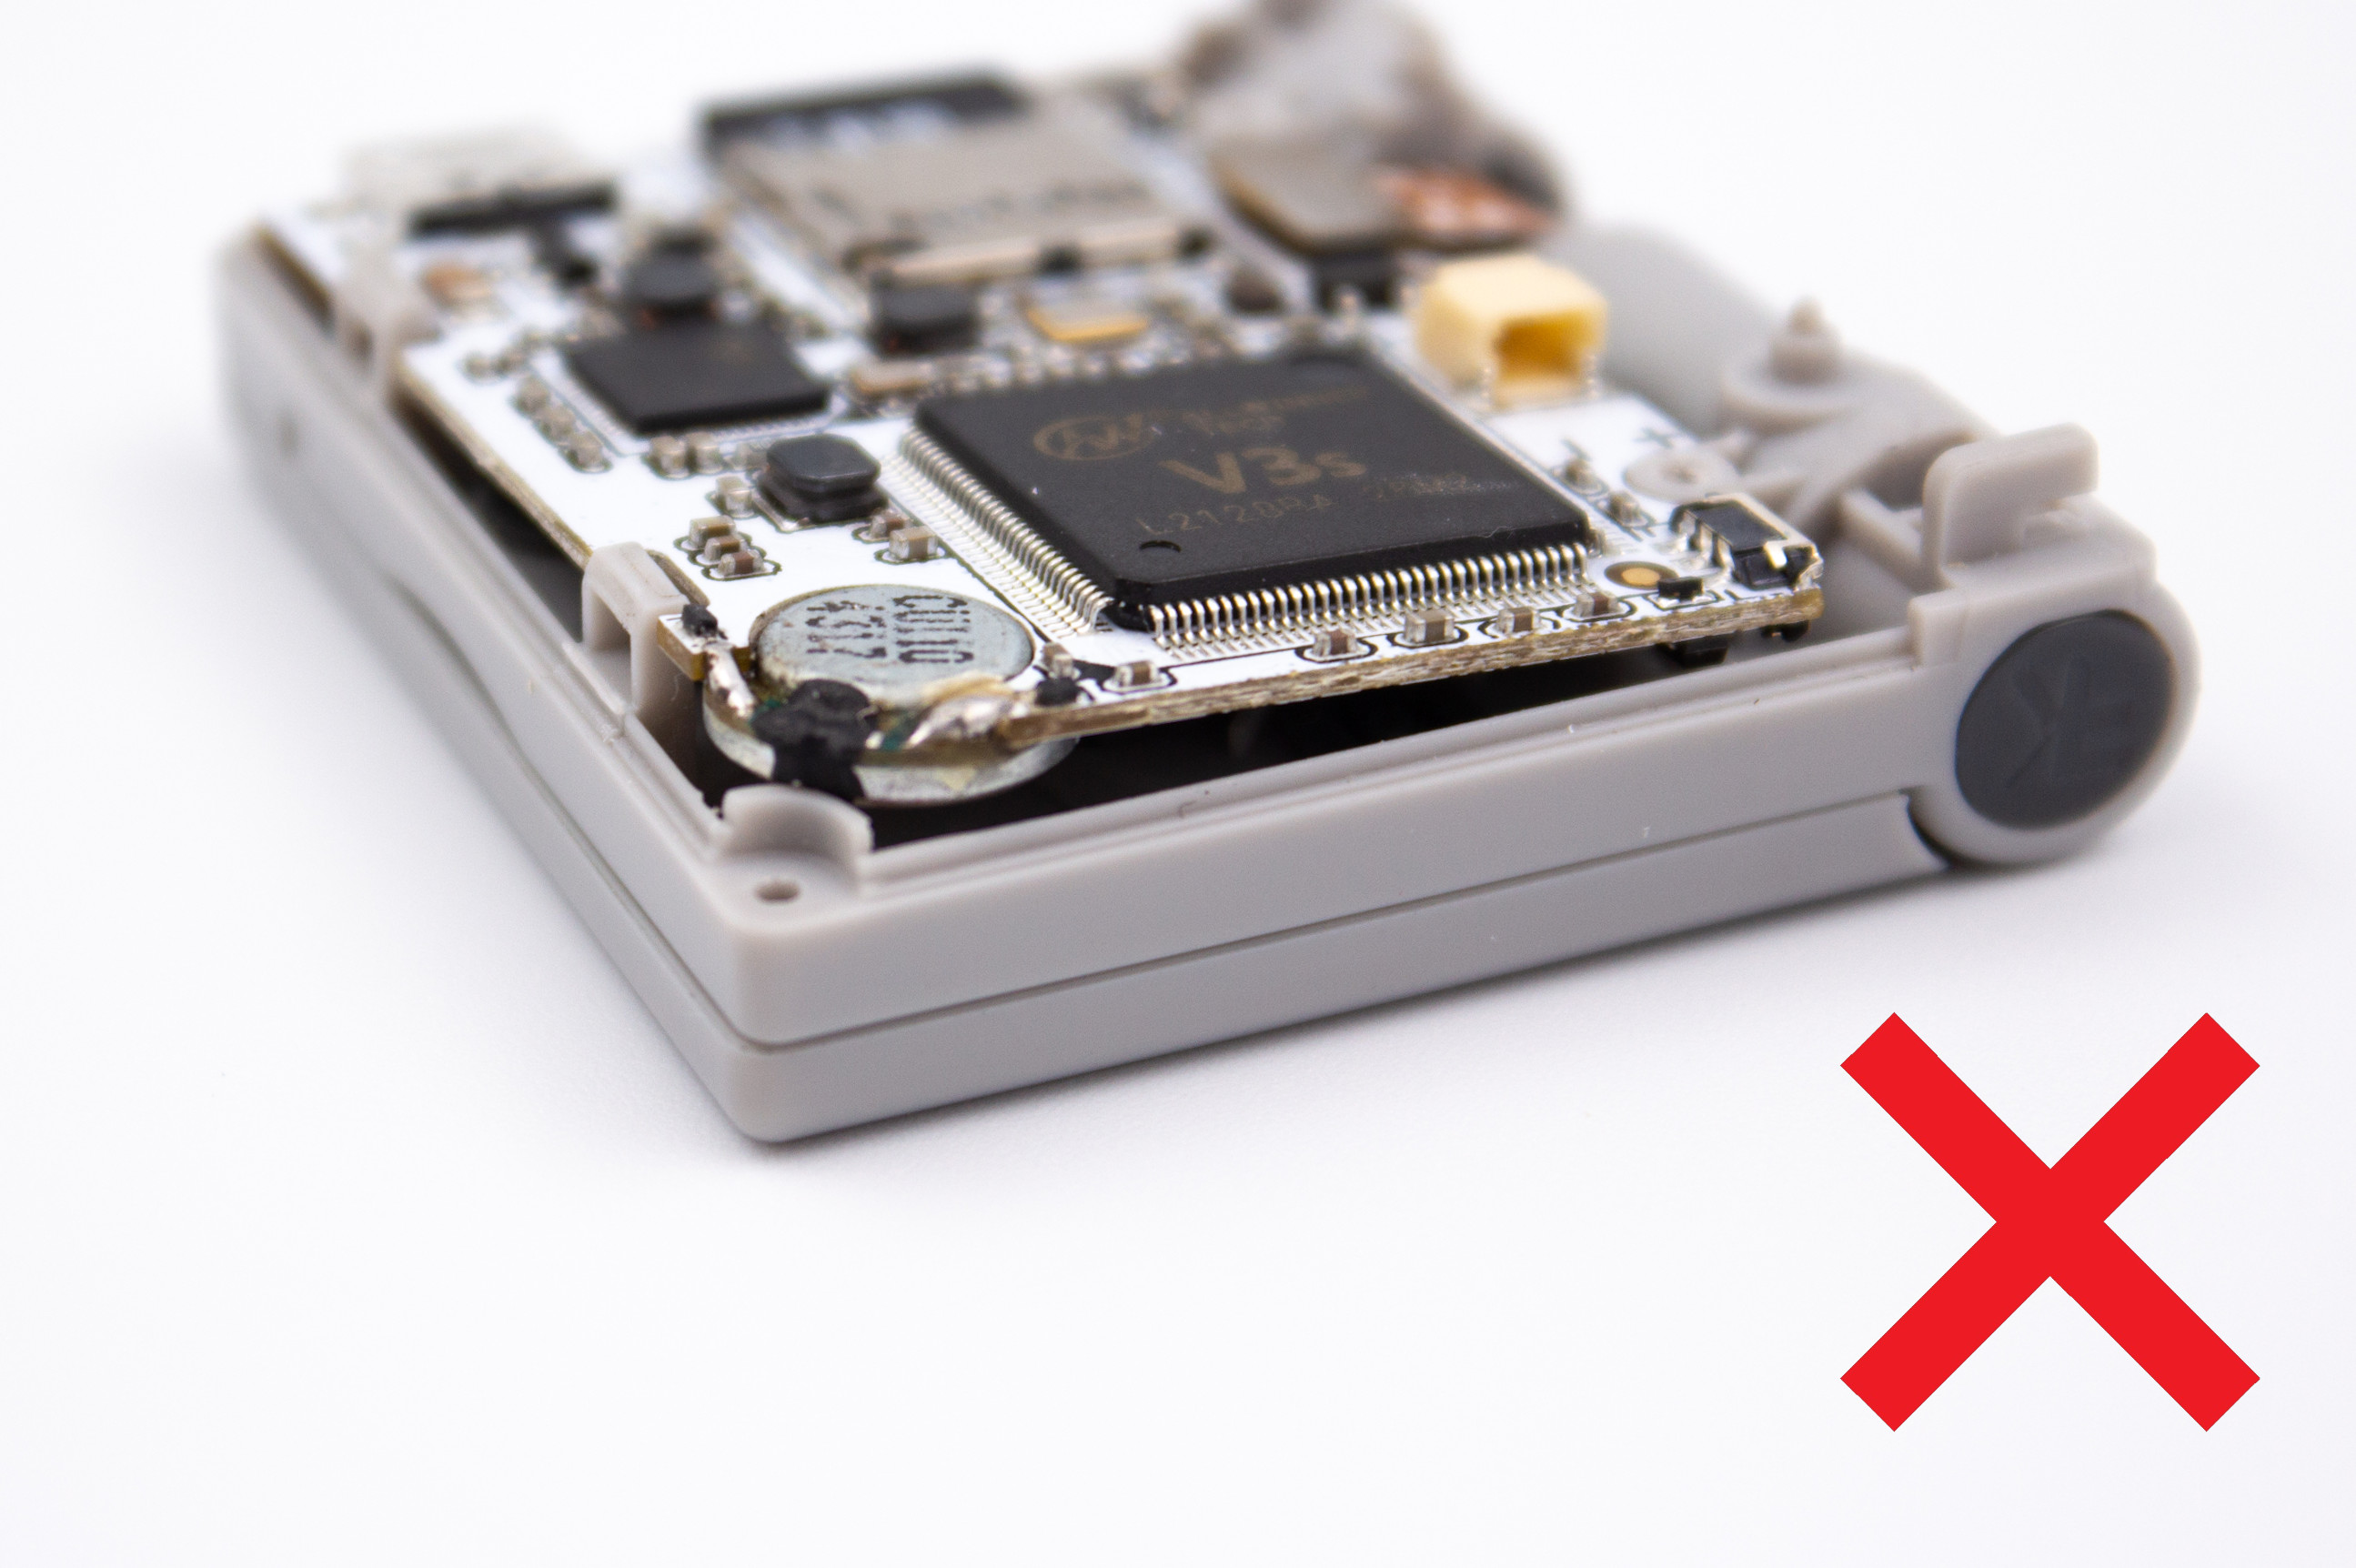
Insert first the speaker into its location in the casing before putting the circuit board back in the case, like in the pictures.
Reassemble the console by following the previous steps in reverse order.
Warning
Be careful not to damage the switches on the circuit board when putting back the L/R plastic buttons.